Here’s a PedalPCB Informant. This is mostly the Rat circuit with a few changes. The biggest change is the addition of a charge pump. The charge pump provides a +9 and -9 volts power for the circuit to run off. Effectively this doubles the voltage.
I have some reservations about the power supply. The clipping section clips at a fixed point. After the clipping diodes the charge pump doesn’t make any difference. With only a 9 volt power supply the circuit would running off +4.5 and -4.5 volts and there would be plenty of headroom going into the clipping section. The clipping section uses silicon diodes which will clip the signal at 0.7 volts. Which means the signal can’t really get past +0.7 volts and -0.7 volts. After the clipping section the output buffer is unity gain so nothing is added there.
The circuit does have a buffered bypass. The PedalPCB Informant offers an option to make this true bypass. The original DRV is buffered. I went with a buffered option. Here the charge pump can offer something since the buffered output can use the entire +9/-9 volt swing.
I built this is from a PedalPCB Informant PCB. The board is a great quality and set up for an easy build with all of the pots and LED mounted to the board. I would be happier to put this in a 1590B enclosure but the board is a little too large. On the other hand using a 125B allows for all of the jacks at the top.
The cost of this project was about $25. Which is pretty reasonable and took only a couple hours. The parts are all easy to get. Nothing special or hard to source. You can get everything for this at Tayda Electronics including the charge pump.
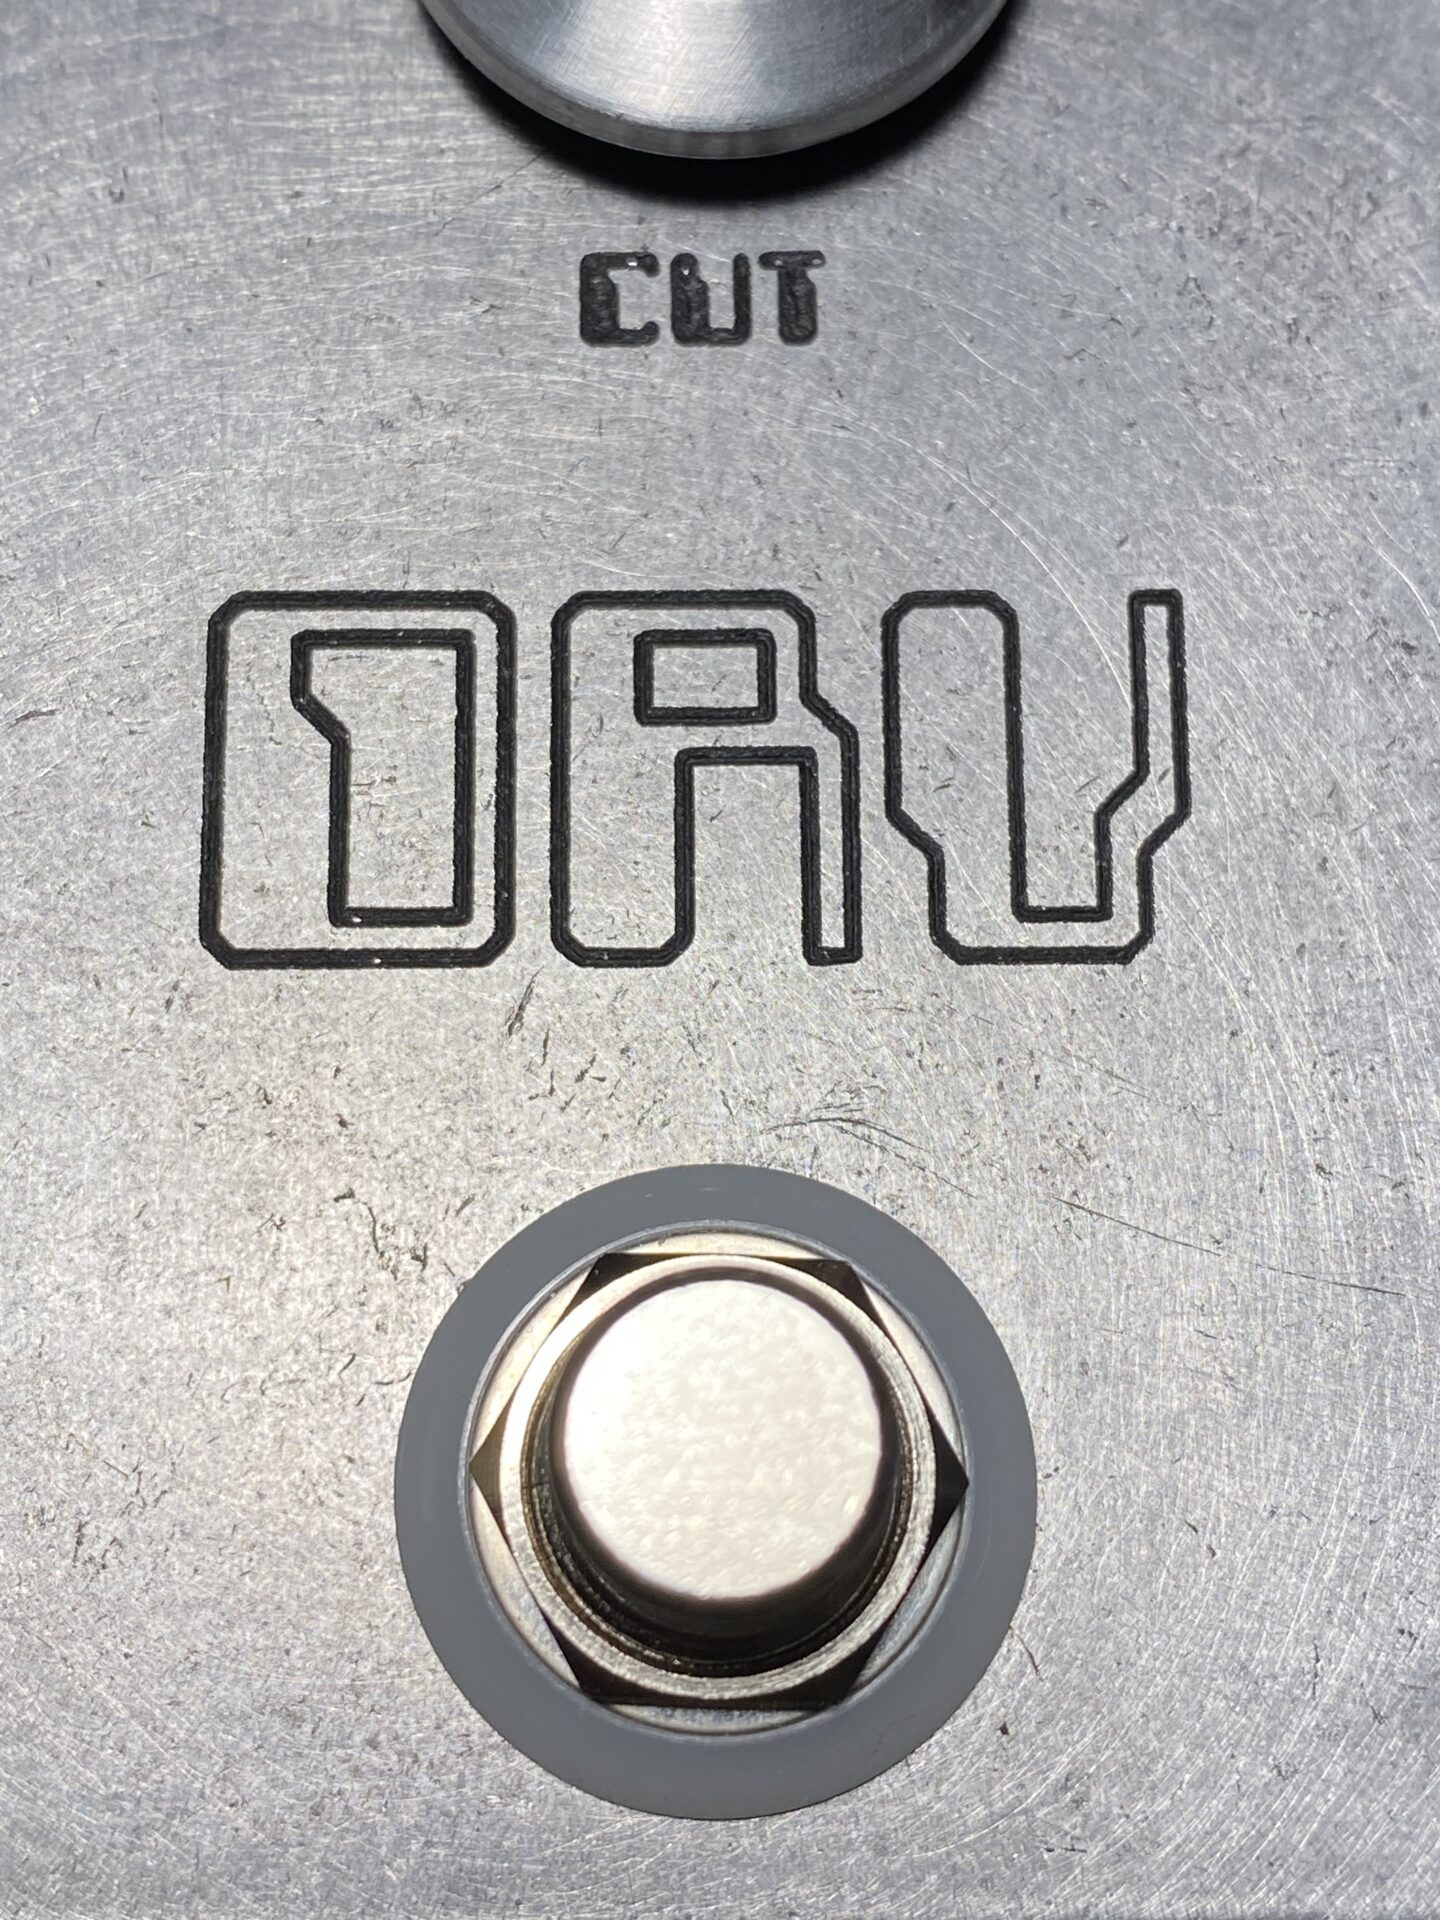
I milled the enclosure, filled the engraving with some paint and sanded the enclosure after. there is a small hex bolt between the knobs at the top. I drilled there for an LED but realized I had some of those stomp switches with the LED ring later and decided to use one of those. I used the hex bolt to fill the hole.


Leave a Reply