I’m planning to host a pedal building workshop at Noisebridge. Noisebridge is a community hacker space in San Francisco. Below are my notes for this session.
Welcome
- Introductions? [activity meet your neighbors]
- How do people feel about masking?
- How much experience does everyone have?
- Electronics?
- Soldering?
- Tools?
Why are you here?
- You want to build a guitar pedal
- You want to build something/anything
- You are interested in audio and want to learn more
- You want to learn about analog circuits
- You want to learn about digital audio
- [activity what do you want to build?]
What can you build?
- Guitar pedals!
- Synth modules
- Audio generators
- Audio processors
What is a guitar pedal?
- Most often they are analog
- Sometimes digital
- Usually it fits in a small box that sits on the floor
- Most often runs on 9v
- [activity what’s your favorite pedal?]
Show some sample pedals
Here are some poplar DIY projects with lots of resources available on the internet.
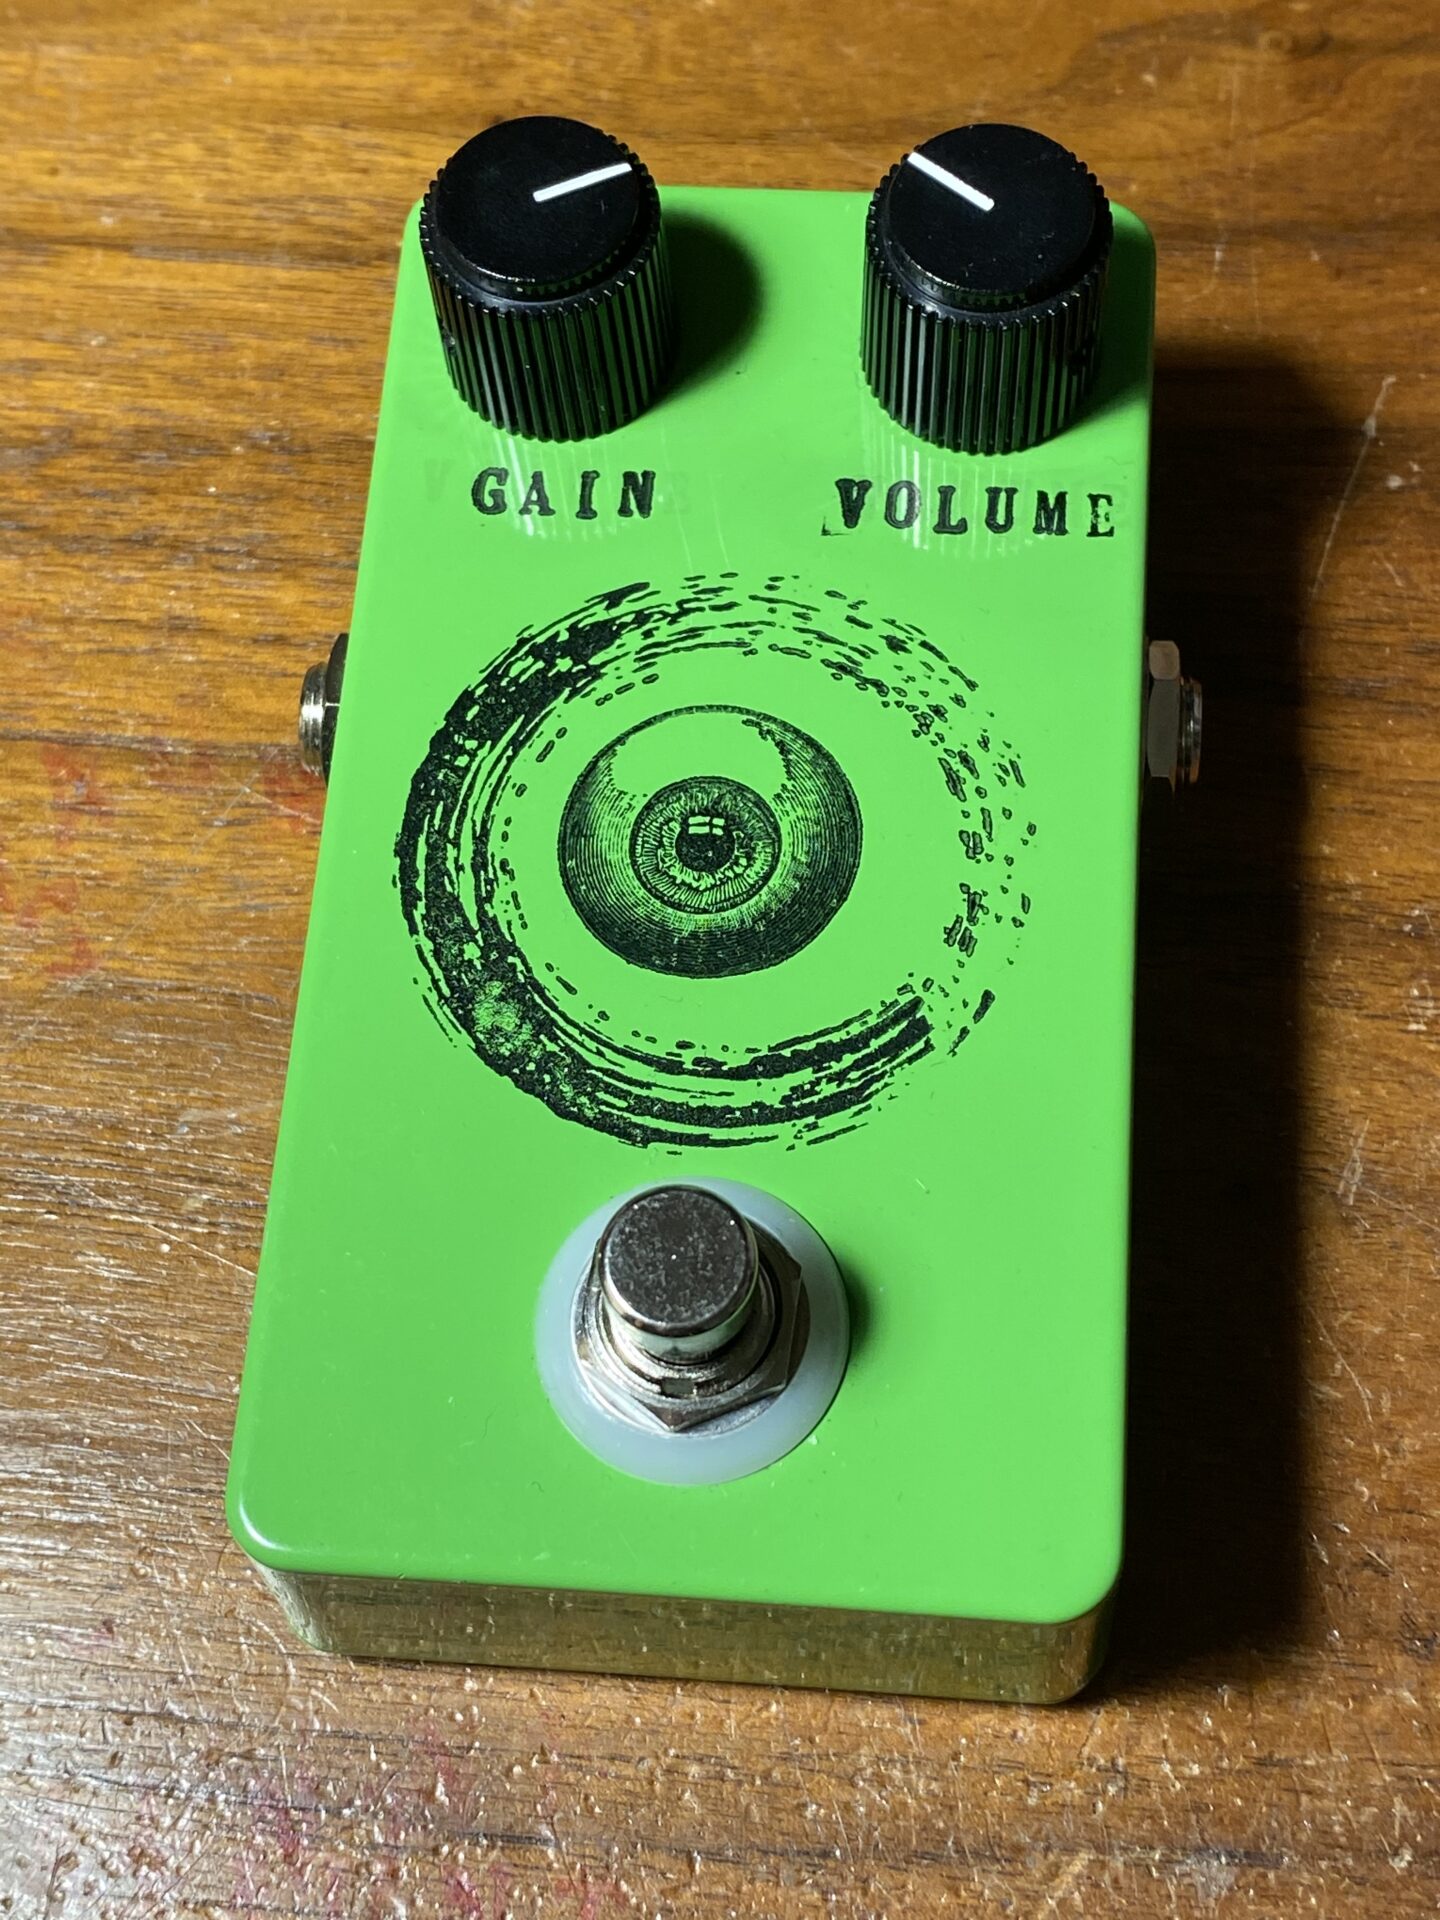
These are my builds, you can find more info about these builds on this site.


What can you build?
- Guitar pedals
- Distortions
- Fuzz
- Delay
- Phase shifters
- Oscillators
- Filters
Guitar pedal construction materials and process
- Breadboard
- Perfboard
- Stripboard
- Manufactured PCB


How much does it cost?
Tl;dr about $25.
Obviously it depends on what you build. Usually the box is the most expensive component at $5 to $10. Larger enclosures cost more. If you want fancy colors It costs a little more.
If you buy a manufactured PCB this can cost $10 or more. If you make your own the cost is lower. Don’t underestimate the value of paying for a manufactured and tested PCB the time and headaches it saves could be well worth the money spent.
The stomp switch is about $3. You’ll need at least one. If you build a box with more than one foot switch the cost is higher.
Jacks vary depending on the quality. Let’s estimate this as $5 for the input, output, and power jacks.
The rest of the parts are the least expensive components. Resistors, capacitors, diodes, and transistors are all in cents.
There might be a higher cost for your first pedal since you might need to invest in wire, solder, and other things that you’ll use for a while.
Noisebridge has lots of parts in the electronics room that are free to use! They may no have everything you need for a project.
What should you build?
Think about your skills and goals. Answer the questions below
- You want to build something you can use and you’re all about the box!
- Get a manufactured PCB or a kit. You can be sure the design has been tested, you also know what you’re going to get. You can concentrate on make the best looking whatever it is you decided to build.
- You want to learn
- Find a schematic. Search out schematic of classic effects. These have been studied and the internet can offer in-depth study of these circuits.
- Find a layout. A layout shows how to connect all of the physical parts. All of this stuff has been built before, there are many layouts showing how to put all of the parts together with strips-board or perfboard.
- You want to invent something new
- Get a breadboard and some schematics. Building on a breadboard will allow to swap parts and experiment with mods. Starting with a existing circuit is a good idea.
All of the classic effects have been built and studied. People are building them every day. Starting with something that has been done before is a good idea and makes a great jumping off point to do something new!
- Classic effects by difficulty
- Easy – Boosters: LPB-1, SHO, Range Master
- Easy – One transistor fuzzes: Bazz Fuss, Electra, Easy Drive
- Easy – Two transistor circuits: Fuzz Face, Tone Bender
- Moderate – Transistor circuits: Tone Bender, Big Muff, Haunting Mids
- Moderate – Op-amp circuits: Phase 45, TS, ICBM, Rat
- Moderate – Others: PT2399 Ciruits
- Difficult – Analog delays, Flangers, and other circuits with complex modulation schemes.
- Digital Circuits. (Best advice get a PCB or build something based on the schematics below)
- Spin FV-1 boards development PCB
- Daisy Seed development board. Get a board then you can concentrate on writing software.
- Arduino Pedal shield
- PI pedal shield
Tools
Here is a list of tools you might need. Noisebridge has many of these tools on hand in their maker space!
- Breadboard – Use this to prototype and test your work
- Soldering iron – Use this to assemble your final product
- Drill press – Need this (or hand drill) to make the box
- Wire cutters –
- Screw driver –
Parts
Noisebridge has many of these part in the electronics room. Check the Noisebridge resources page. They probably will not have everything! In some cases you may be able to substitute parts.
- Resistors
- Capacitors
- Diodes
- Transistors
- Op-amps
- 1/4” jacks
- DC 9V jack
- PCB
- Enclosures
- Hammond boxes 1590B, BB, A, D, X
- Mint tins
- Anything really!
You can put a pedal circuit into almost anything for an enclosure. Get creative see what you have available around the house!


Construction techniques
A big part of the constructions will be getting the electronic parts connected. There are a few methods you can use to get this done. Depending on your goals you might choose one of the methods below.
- PCB – This is probably the most reliable and structurally sound construction methods. There are two options.
- You can make your own
- Design with Eagle
- Etch a board
- CNC a board
- PCBWay
- OSHPark
- Buy a PCB (maybe I have one for you)
- PedalPCB
- AionFX
- You can make your own
- Perfboard
- stripboard
- Point to point
- Start with an existing pedal and mod it!
- decorating the box
- Sharpie
- paint
- stickers
- rubber stamps
- silk screen
- engrave it – CNC or Laser
- UV Printing


Resources
- Lesson on transistors – Follow this lesson page to learn about building transistor circuits. This lesson focusses on the Range Master and LPB-1 but applies to all transistor circuits.
- Schematics
- Fuzz Face – This article is an in-depth examination of the Fuzz Face
- Big Muff – This site has schematics for all versions of the big muff.
- Tube Screamer – Here is an in-depth examination of the Ibanez Tube Screamer
- Google any pedal and “schamtic” and you will likely find a schematic!
- Layouts
- Perf and PCB Effects Layouts – Lots of layouts
- Carcharias Effects – Lots of nice layouts
- Guitar FX Layouts – More layouts
- PCBs and Kits
- PedalPCB – Great quality PCBs
- Rullywow –
- AionFX –
- Build Your Own Clone –
- Madbean Pedals –
- GuitarPCB –
- Parts
- components
- StompboxParts – Good prices fast shipping
- Tayda Electronics – Cheap, slow shipping
- Small Bear Electronics –
- Guitar Pedal Parts –
- Love My Switches – Great for knobs and enclosures
- components
- Forms and pedal build discussion boards