Bobtavia is an old-school DIY octave fuzz. It’s a lot like the Roger Meyer Octavia but uses an LM386 instead of transistors. The Bobtavia uses a transformer like the original Octavia and the Maestro Brassmaster. What’s nice about the Bobtavia is its simplicity. The whole circuit is just a handful of parts.
This was one of the first pedals I built back in the early 2000s. With this project, I decided to revisit it with a new PCB. I found someone had posted a version with some mods labeled “Spinal Tap.” I included these in this build.


This is the schematic of the Bobtavia

What were the results?
Sadly, on the first pass this sounded pretty bad. There does seem to be some potential there. The sound of my default build weak but did have a distinct octave. The sound would jump in volume when the input was hotter. The effect was that the volume would be disappointingly low while playing at most positions but would jump and become really loud when playing on the low E string.
With a booster, drive, or distortion at the input of the effect and a pretty hot signal, the octave comes out strong and consistently. I tested with a Tube Screamer and Boost in front. In both cases, the Bobtavia woke up and had a strong octave. I was surprised at how loud I had to turn up the preceding pedal to get good results.
I suspect the pairs of series diodes following the transformer need to output level to be higher to allow them to conduct. It might be good to remove two diodes.
The LM386 has a few tricks up its sleeve. The default gain is about 20. The Bobtavia runs in this mode. Bridging pins 1 and 8 boosts the gain up to 200! I added a jumper and the Bobtavia became a super octave fuzz!
Looking at the circuit the gain control seems less useful. Better would be to have a gain control like the one used on the Smash Drive.
What does the internet have to say about the Bobtavia?
The project has been around since the early 2000s and the name is unique you can search it up on the inter webs:
- Tonepad has a version
- DIYStompboxes has several threads on the subject
- https://www.diystompboxes.com/smfforum/index.php?topic=89039.0
- https://www.diystompboxes.com/smfforum/index.php?topic=49156.0
- https://www.diystompboxes.com/smfforum/index.php?topic=77361.0
- https://www.diystompboxes.com/smfforum/index.php?topic=129056.0
The transformer
All of the parts of the Bobtavia are easy to find except the transformer. The original transformer was available at Radio Shack. As a matter of fact, all of the parts were available at Radio Shack. Which meant, at the time the project first debuted, you could get all of the parts at a store down the street. Radio Shack was everywhere back then. Radio Shack is out of business these days.
The transformer is described as 1K:600ohm with a center tap. Here are some options you might try if you really want to build this.
- Use any small audio transformer you can find. Bonus points for you pull it from an old transistor radio!
- Use 42TM022. You can get these at Mouser.com for about $3 at the time I wrote this. Its a 1.5K:600ohm sounds close enough.
- Try Small bear Electronics
- Search eBay.com for “small audio transformer”


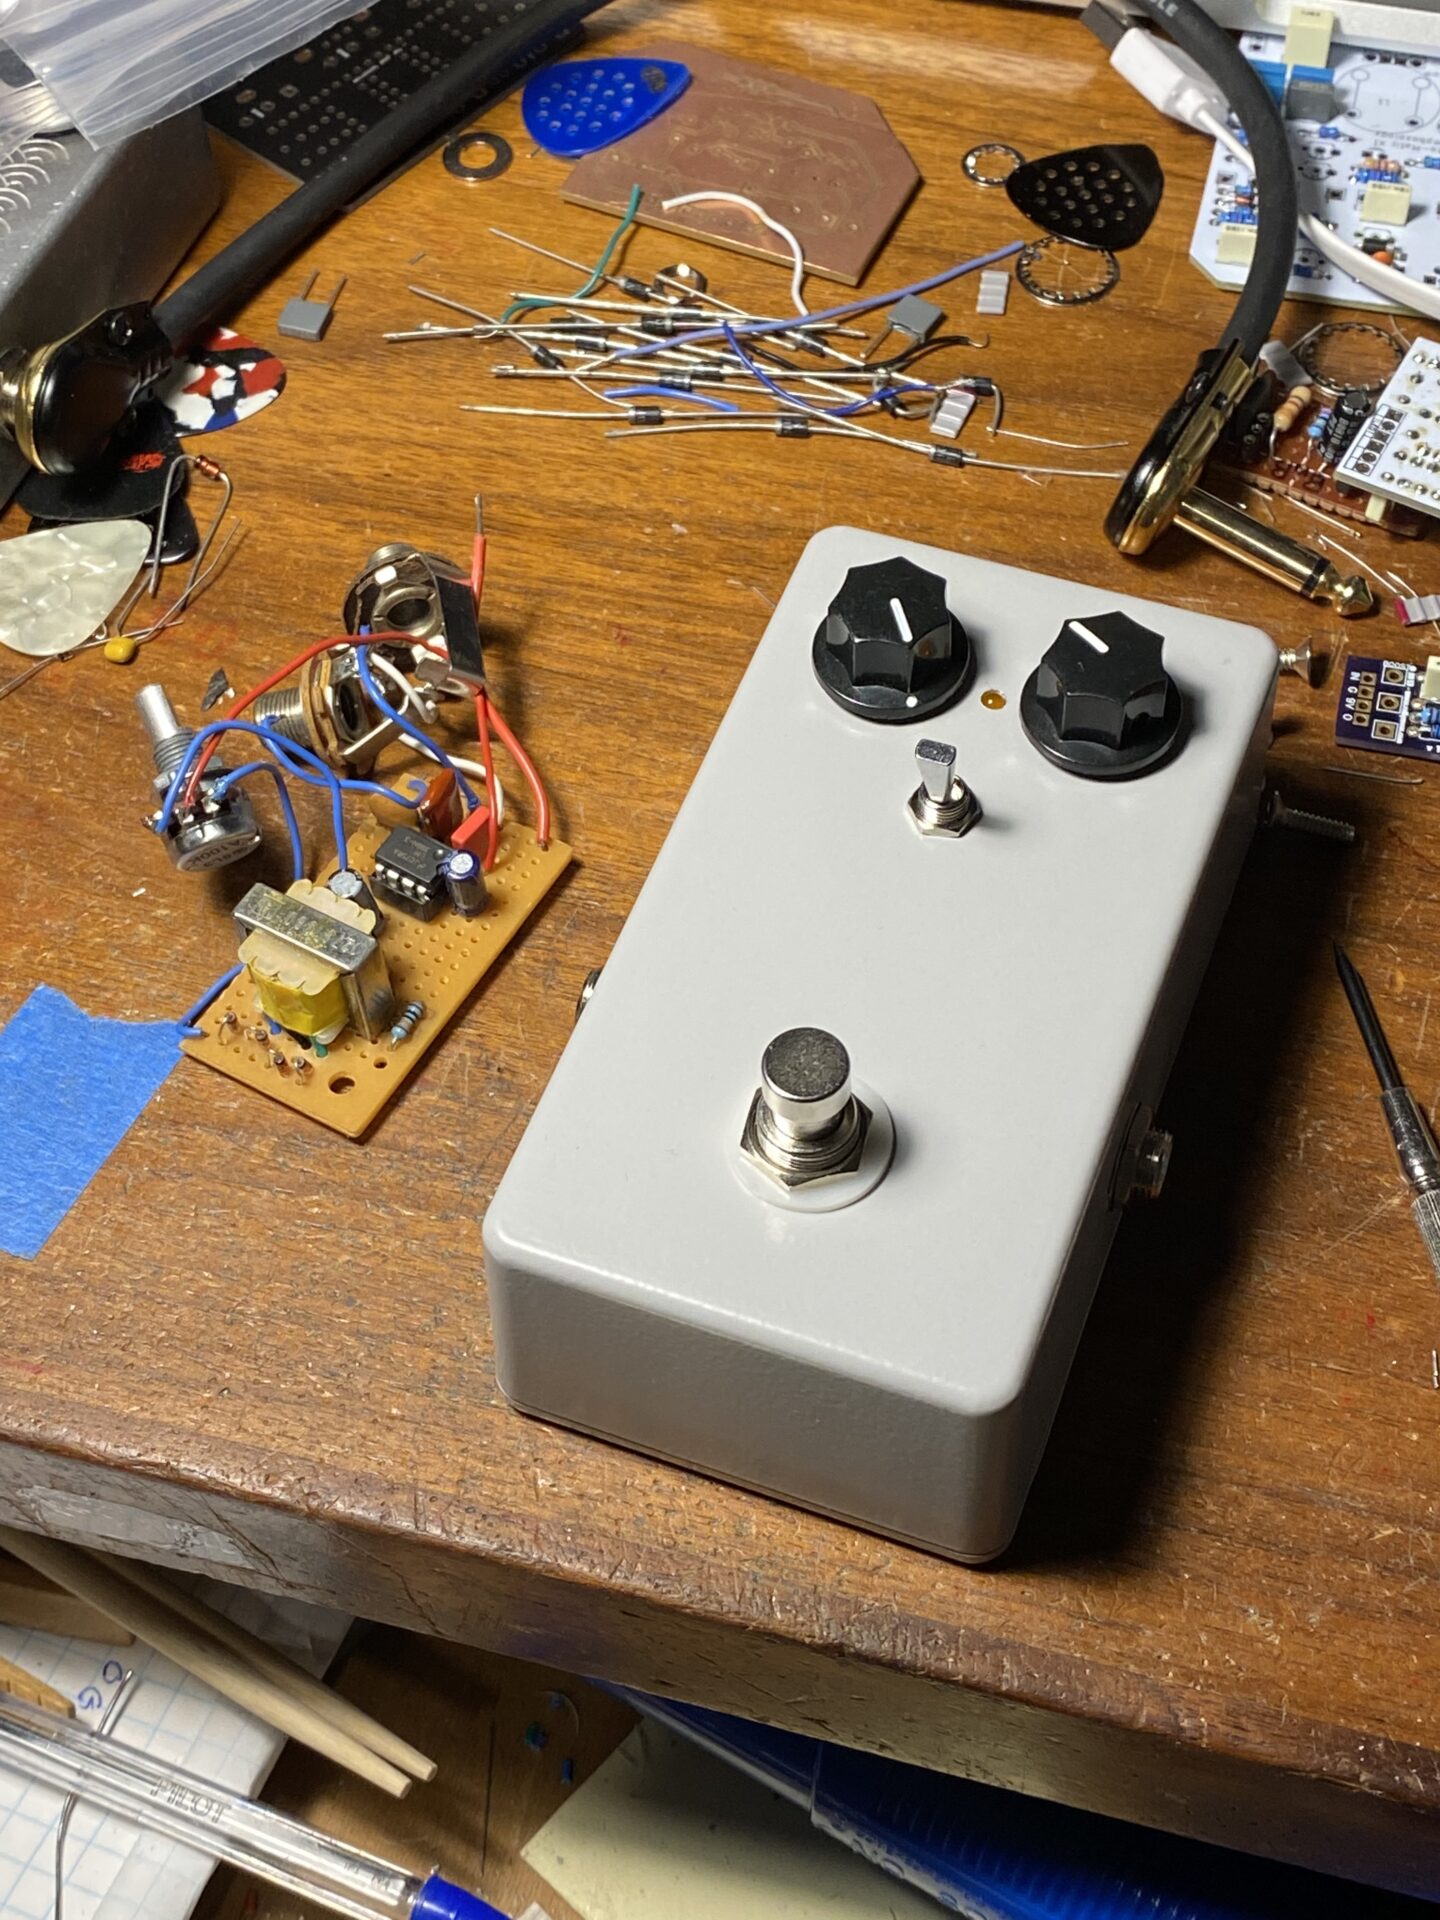
Building the Bobtavia
I started by recreating the schematic in AutoCad Eagle PCB. I placed the pots and LED, and arranged the off-board pads. I arranged the pads to work with the four-strand ribbon cables and 3PDT PCBs. This makes wiring quick and reliable. If you haven’t tried this you should!
I had the boards manufactured at PCBWay.com. The cost was $5 for 10. The service is great, and their web site is easy to use. The cost of shipping is often more than the order. To save money, I place several orders at once. My last order for 5 different boards got the price per board, inclduing shipping, down to $1.


I planned the PCB to fit a 1590B enclosure but the transformer is so tall I wouldn’t be able to get the lib on. I had to use a 125B sized enclosure which has a lot more room.
After drilling the box, I assembled the switch and pots with the PCB on the outside of the box. This allowed me to get the pots and switch soldered to the PCB while keeping everything square to the box. After soldering, I took the nuts off and put everything into the box the right way around.


I used a four-conductor ribbon cable and a 3PDT PCB. These make assembly quick and easy! Just solder all four connections at once, then solder the four connections to the smaller board, all outside the box, then put everything into the box, push the small board onto the switch lugs, and solder. Super fast and easy. Removes all of those potential mistakes that can happen wiring up the switch.
Conclusion
The original version did not sound so great. After boosting the gain on the 386 by jumping pins 1 and 8 it sounded better. The Spinal Tap mod did not do a whole lot for me, just some oscillation. Others have said this sounded good, but it didn’t seem to work for me. The gain control seems useless.


This needs a little more experimentation. I’m envisioning revising the PCB to remove the spinal tap mod, remove the gain control, and jump pins 1 and 8. This would create a single knot pedal with just a volume control.
Another option would be to remove the spinal tap mod, and refactor the gain control to match the Smash Drive configuration.


Leave a Reply