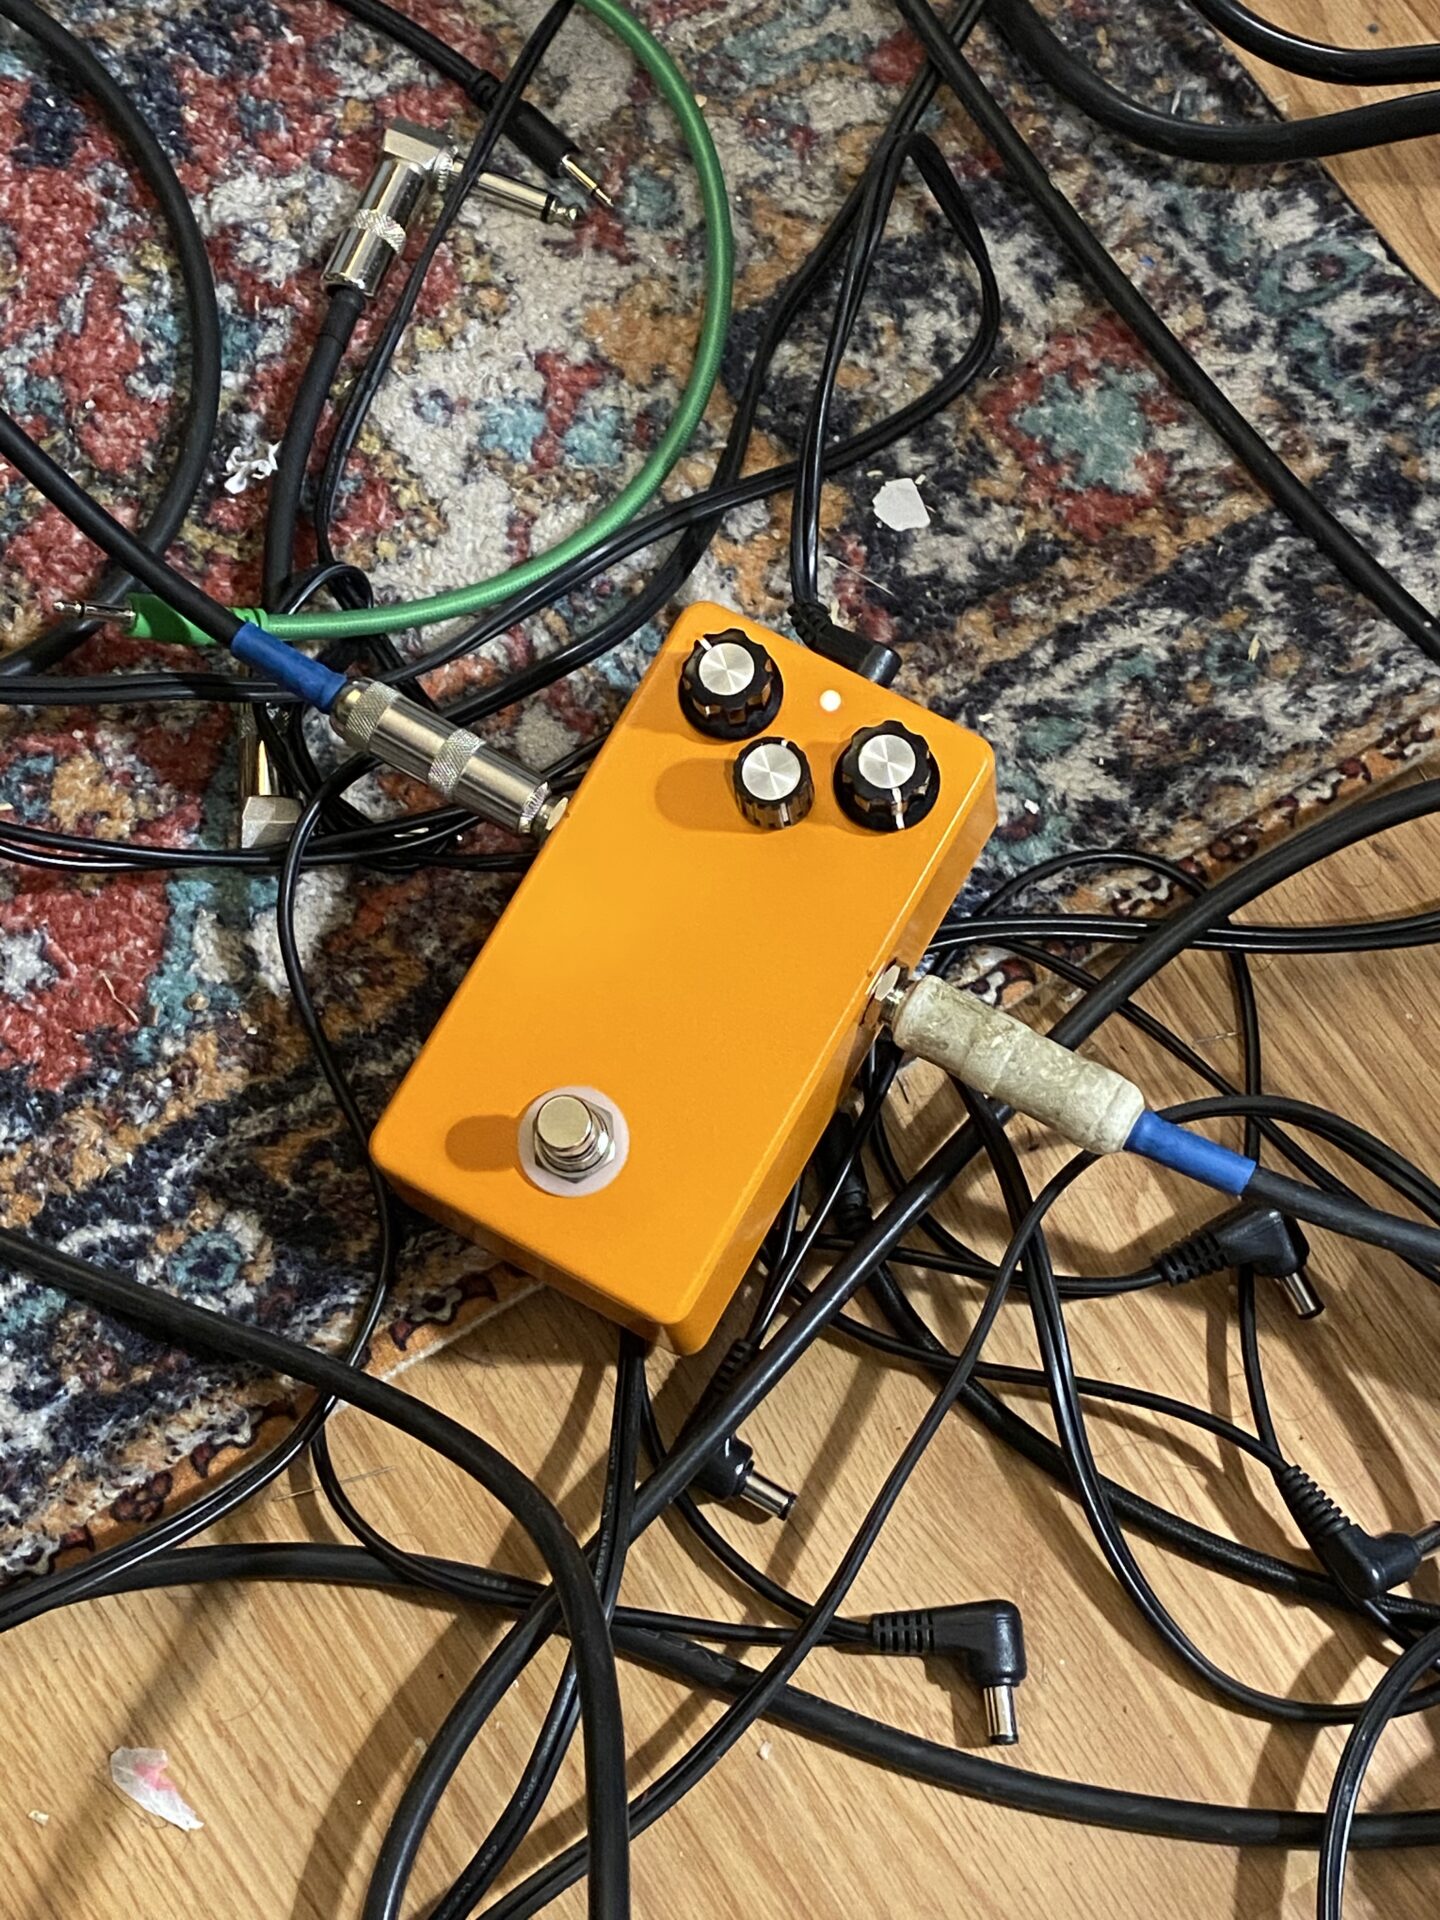
After my last couple projects rehousing new circuits in Boss enclosures I was left with several DS-1 PCBs. These were populated with some or all of the parts! I decided I couldn’t let these go to waste!

If you’re interested to see what was rehoused in Boss enclosures check these out:
Turns out the DS-1 PCB fits the dimensions of a 125B enclosure exactly. Also turns out I just happened to have an orange 125B enclosure! So this was going to have to happen!
First I needed to add a rectangular hole for the power jack, which is mounted to the PCB. I didn’t want to replace this since that would be more work, the current jack works and it would hold the PCB in place nicely.
I started by measuring and marking the location where the hole needed to be. I Drilled out as much of the hole as I could on the drill press. Then I used a couple files to work the hole to the right size and shape. This was not as hard as it looked to do. Took about 15 mins.
The PCB has a buffered bypass along with the DS-1 circuit which also controls the LED. I found this PDF with DS-1 mods over at DIYStompboxes.com. This shows the wiring on PCB along with a lot of mods. Maybe I’ll try some of these later!
I wasn’t using a battery or the other mods so I followed PCB wiring and left out the rest. I just needed to wire the input and output jacks, and the LED.
Speaking of which. The Boss enclosure has a tiny PCB that mounts the led and has a screw to hold it in place inside the enclosure. I didn’t hat that to work with so I drilled a 3mm hole, soldered some wires to a 3mm red LED, added a little heat shrink tubing, then glued the LED in place with some Krazy Glue. Done!
The Boss buffered bypass needs a momentary switch to activate. Luckily I had two of these in my parts bin. The one I used is a two pole DPDT type. But this only requires a single pole. I was worried this switch might be too tall but in the end everything just fits.
Since I used the original Boss pots I also used the original Boss Knobs. I like it when nothing goes to waste!
There is a lot you could do here for mods. The enclosure could also be rearranged. I chose to place everything in as close to the same location as it would be in the original Boss pedal.
Notice the jacks. I placed these just like they are on the Boss enclosure. They are very close to the top. This has the nice side effect of allowing the enclosure to hold them in place as you tighten the nut. Turns out the jacks are at exactly the same height as the Boss jacks. You could chain them with the Boss pedals and those double ended plugs!
What’s it sound like?
Sounds just like a DS-1. It’s the same circuit and parts and no mods. The only thing that has changed is the enclosure and the battery has been removed.
Cost
The cost of this project was minimal. I wanted the original Boss enclosure for another project. I spent $40 on a used DS-1. The PCB was left over, the pots and knobs also. This project gave me a chance to use these left over parts! The enclosure was about $5. Actually the box was free. Last year Tayda sent me the wrong order and this box and the jacks were part of that order.


Leave a Reply