Timmy is a boutique overdrive by Paul Cochrane. This pedal generated a lot of discussion over the ethics of cloning pedals. A couple companies were accused of cloning Timmy. Most of the most popular boutique pedals out today are clones of something. In the case of Timmy, Paul is a small manufacturer, who does all of the work himself and derives a significant portion of his income from the pedal. Not to mention, he charges a very reasonable price.
So the question is should I clone Timmy? At this time, Timmy has been licensed by MXR and I’m not making these for sale. I see this project as study, like copying an old masters painting. The project is an educational endeavor.

What does the internet say about Timmy?
If we are truly living in the golden age of guitar effects pedals, then the Timmy overdrive pedal is written into the Arthurian legend of the moment – it’s a sort of drive pedal Excalibur, a vaunted circuit that does things that none other can.
Music-Radar
Others boast transparency, but the Paul Cochrane Timmy overdrive is one of the very few transparent overdrives I’ve ever used, and to me it is the best OD I’ve ever owned!
Guitar Gear
I of course am a fan of transparent overdrive pedals
Guitar PedalX
I’m not a fan of the Timmy. It’s legendary for a reason, but it’s never done much for me.
Home Tone Blog
Of course Reddit has an opinion:
The Build Process
I used the schematic. There are a couple versions of Timmy. They all seem to have a similar topology; dual op-amp, with a Tube Screamer style clipping section followed by the table control and another op-amp stage. Not sure which version of Timmy this is or if it is correct.

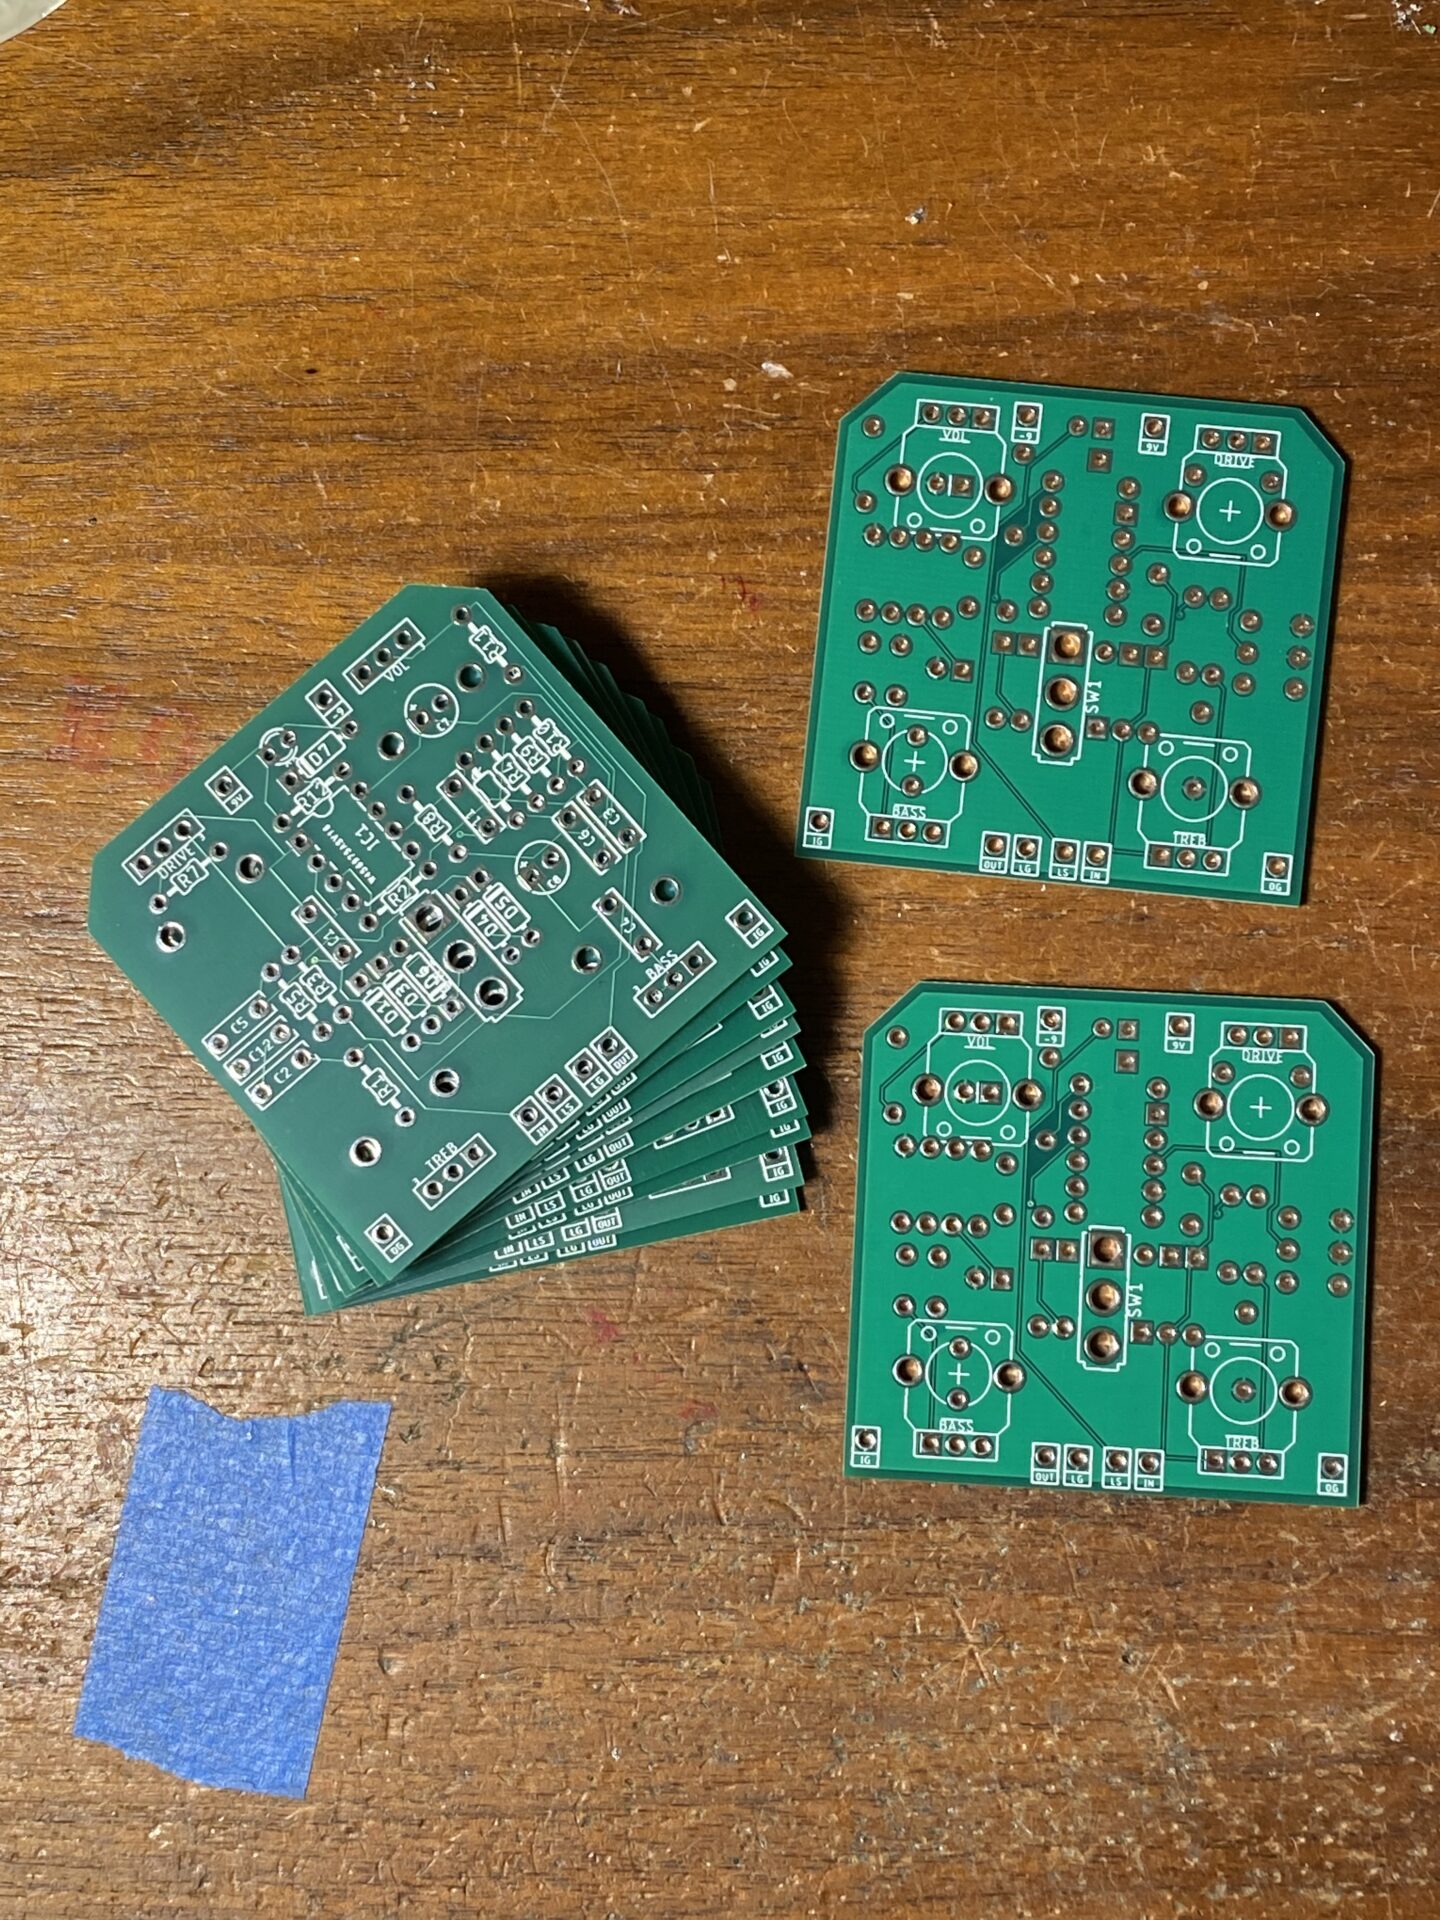
I recreated the schematic in Autocad Eagle PCB, then generated a PCB. I then sent the files to PCBWay.com and had some boards manufactured. This is my preferred system these days. The manufactured boards are much more reliable than homemade boards.
Pro tip! Be sure to download the PCBWay’s Eagle .dru file and load this into Eagle. Use the DRC (Design Rules Check) and solve issues before sending your files to PCBWay.com. This will guarantee your files will not generate any errors on their end. Read more about Design Rules here.


I designed these boards for 9mm pots. The pots, switch, and LED all mount to the board. This makes for a more reliable build. Using a manufactured PCB allows me to plan a better pedal by placing the pots, switches, and LED first before placing the rest of the parts. This makes sure the pots have a logical arrangement, leaves enough room for knobs, and gives the LED and switch good positions.
I find if I start planning my boards with the ICs and transistors, I often end up with the pots in awkward locations. Using off-board wiring leaves you with a lot of extra wiring and a board that is not secure in the enclosure, which is prone to errors. The best plan I’ve found is to start by placing the pots.
The layout I created is working but could use a second revision. Notice the caps in the lower right of the board. These are crowded together. I miscalculated the foot prints of these parts.


After received the board from PCBWay I exported an image of the PCB from Eagle and used this to plan the enclosure. I milled a black powder coated enclosure, drilled everything, and wired it all up.
Everything worked first test which was great. I’m always happy when that happens! The Treble control didn’t seem to be doing much, so that might need a closer look.
Leave a Reply