Category: Projects
-
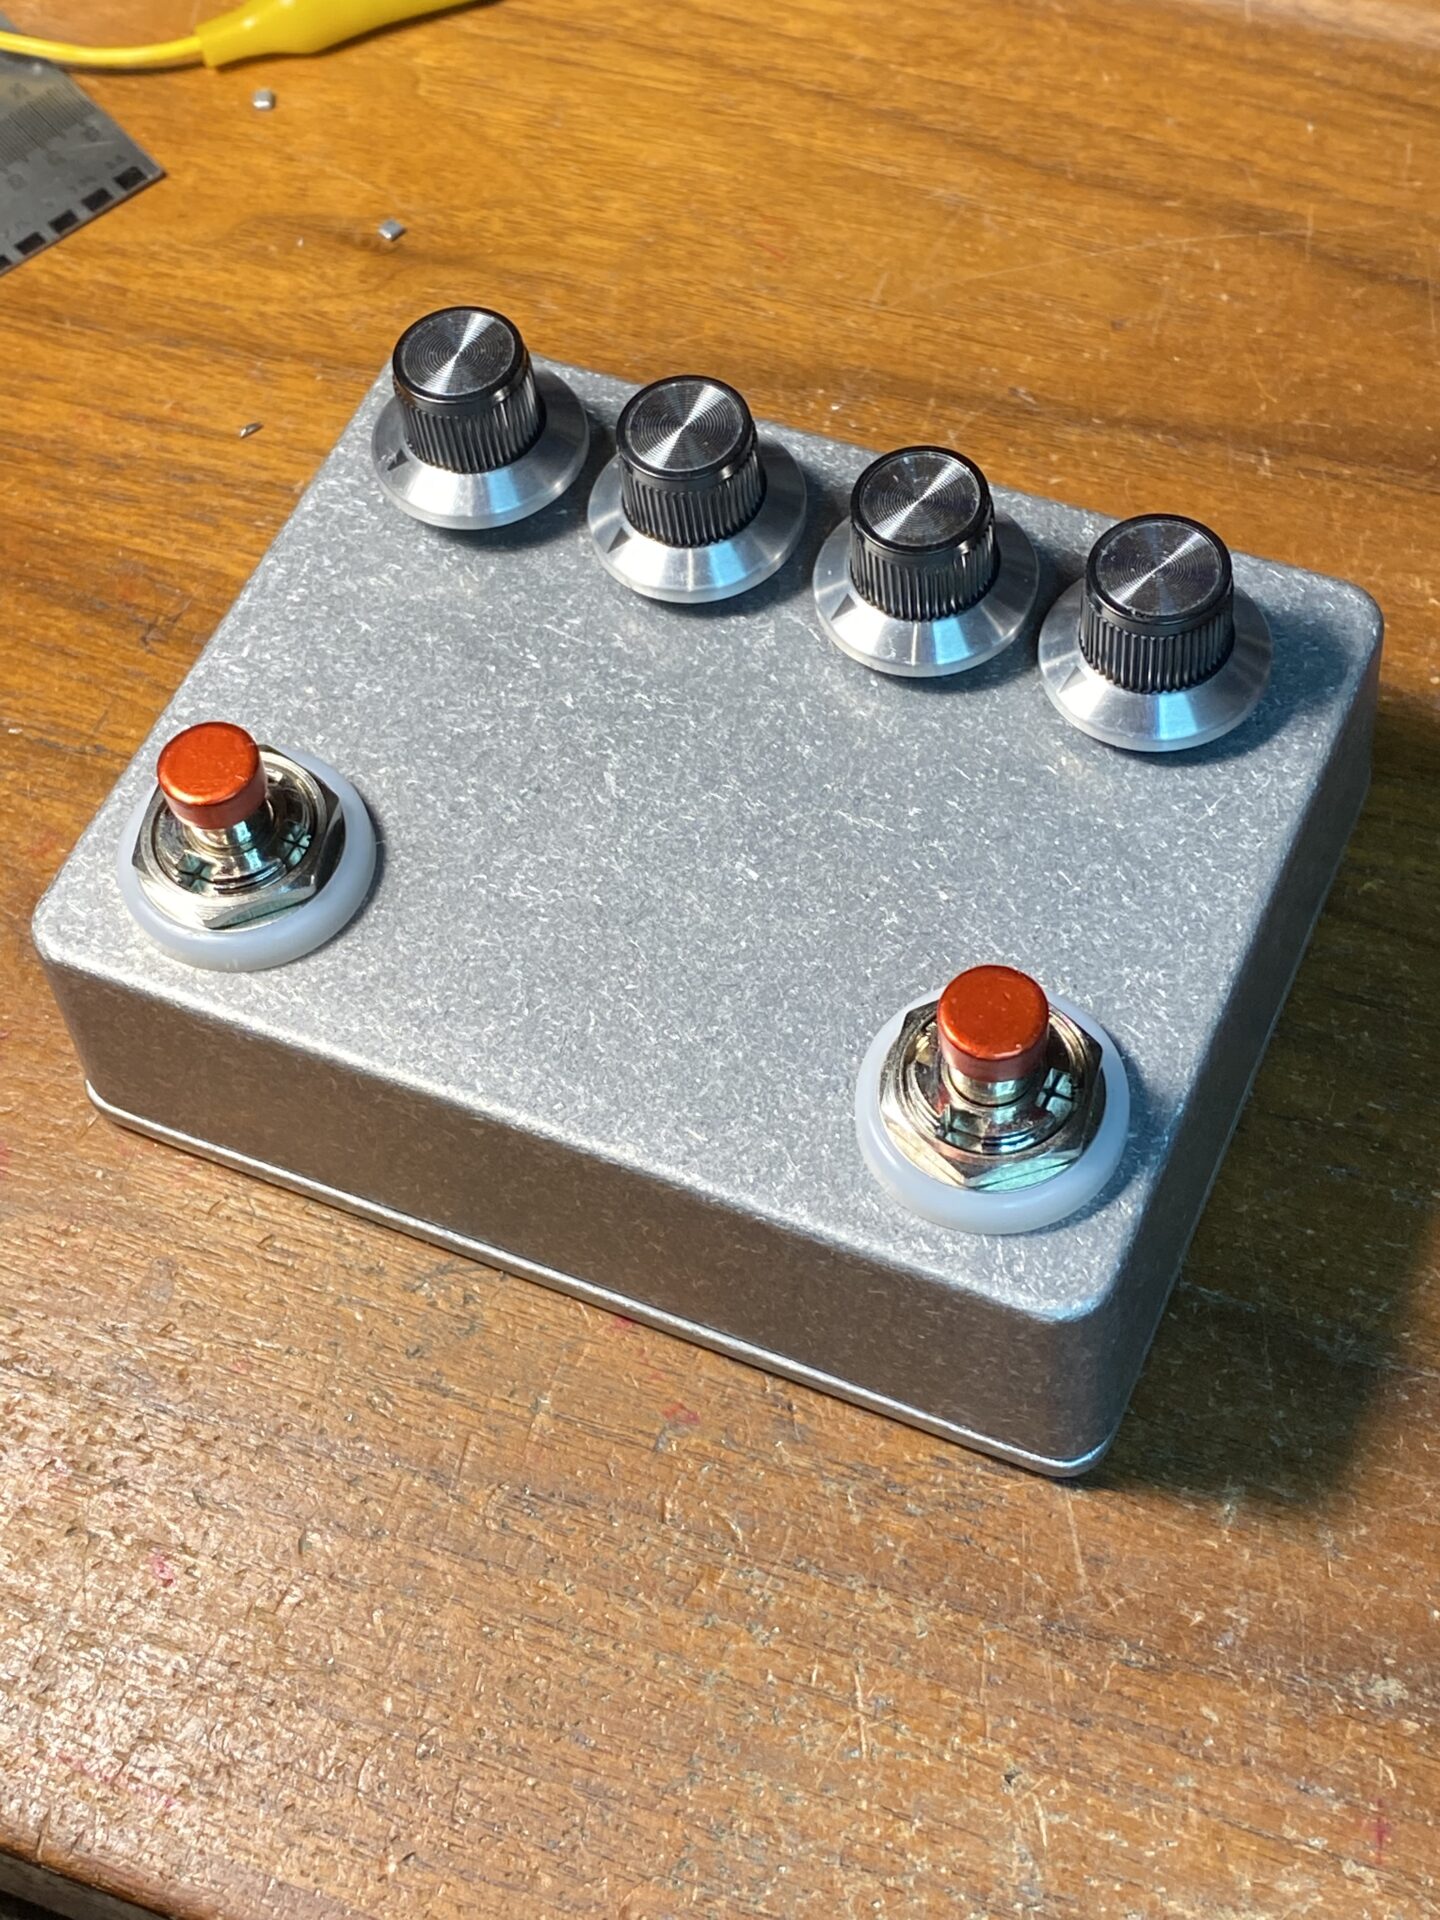
Tim Escobedo PWM PCB build
The PWM b Tim Escobedo shapes your guitar signal into a variable duty square wave. This is staple of synthesizers. Known as pulse width modulation or PWM. The sound is supper compressed fuzz. This circuit is a simple build. Tim Escobedo is sort of an anomaly. He contributed an amazing collection of ideas vis his…
-
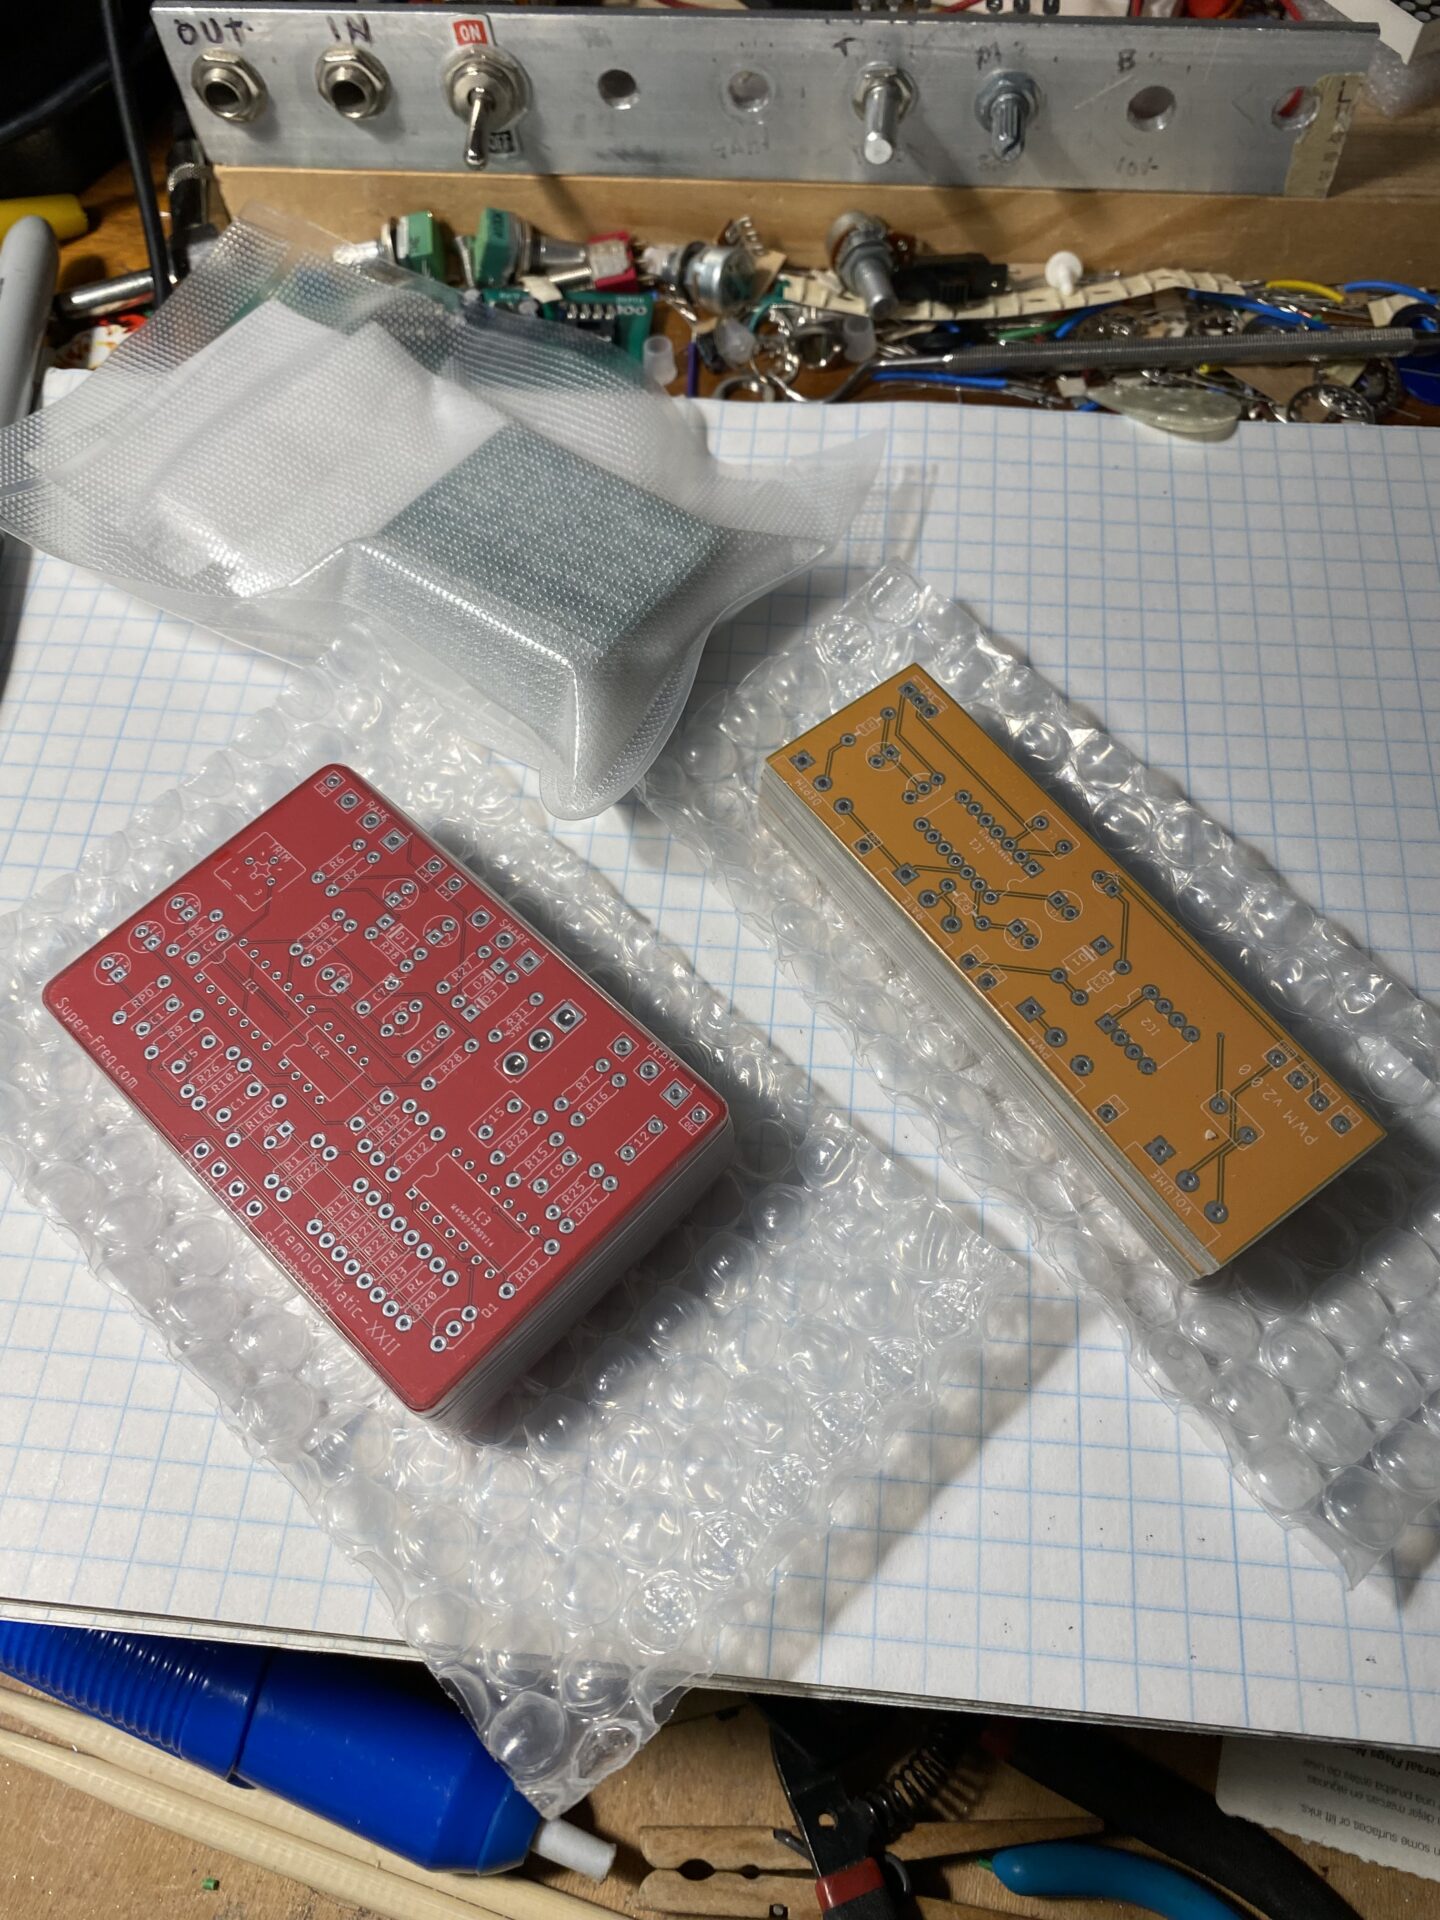
New PCBs
I had a few new PCB projects manufactured. Here are three projects I had been working on. These were drafted up in Eagle. I had these made at PCBWay.com.the cost was about $45 for 30 boards. I order 10 of each of three designs, they sent me 11 of each, which was a pretty reasonable…
-
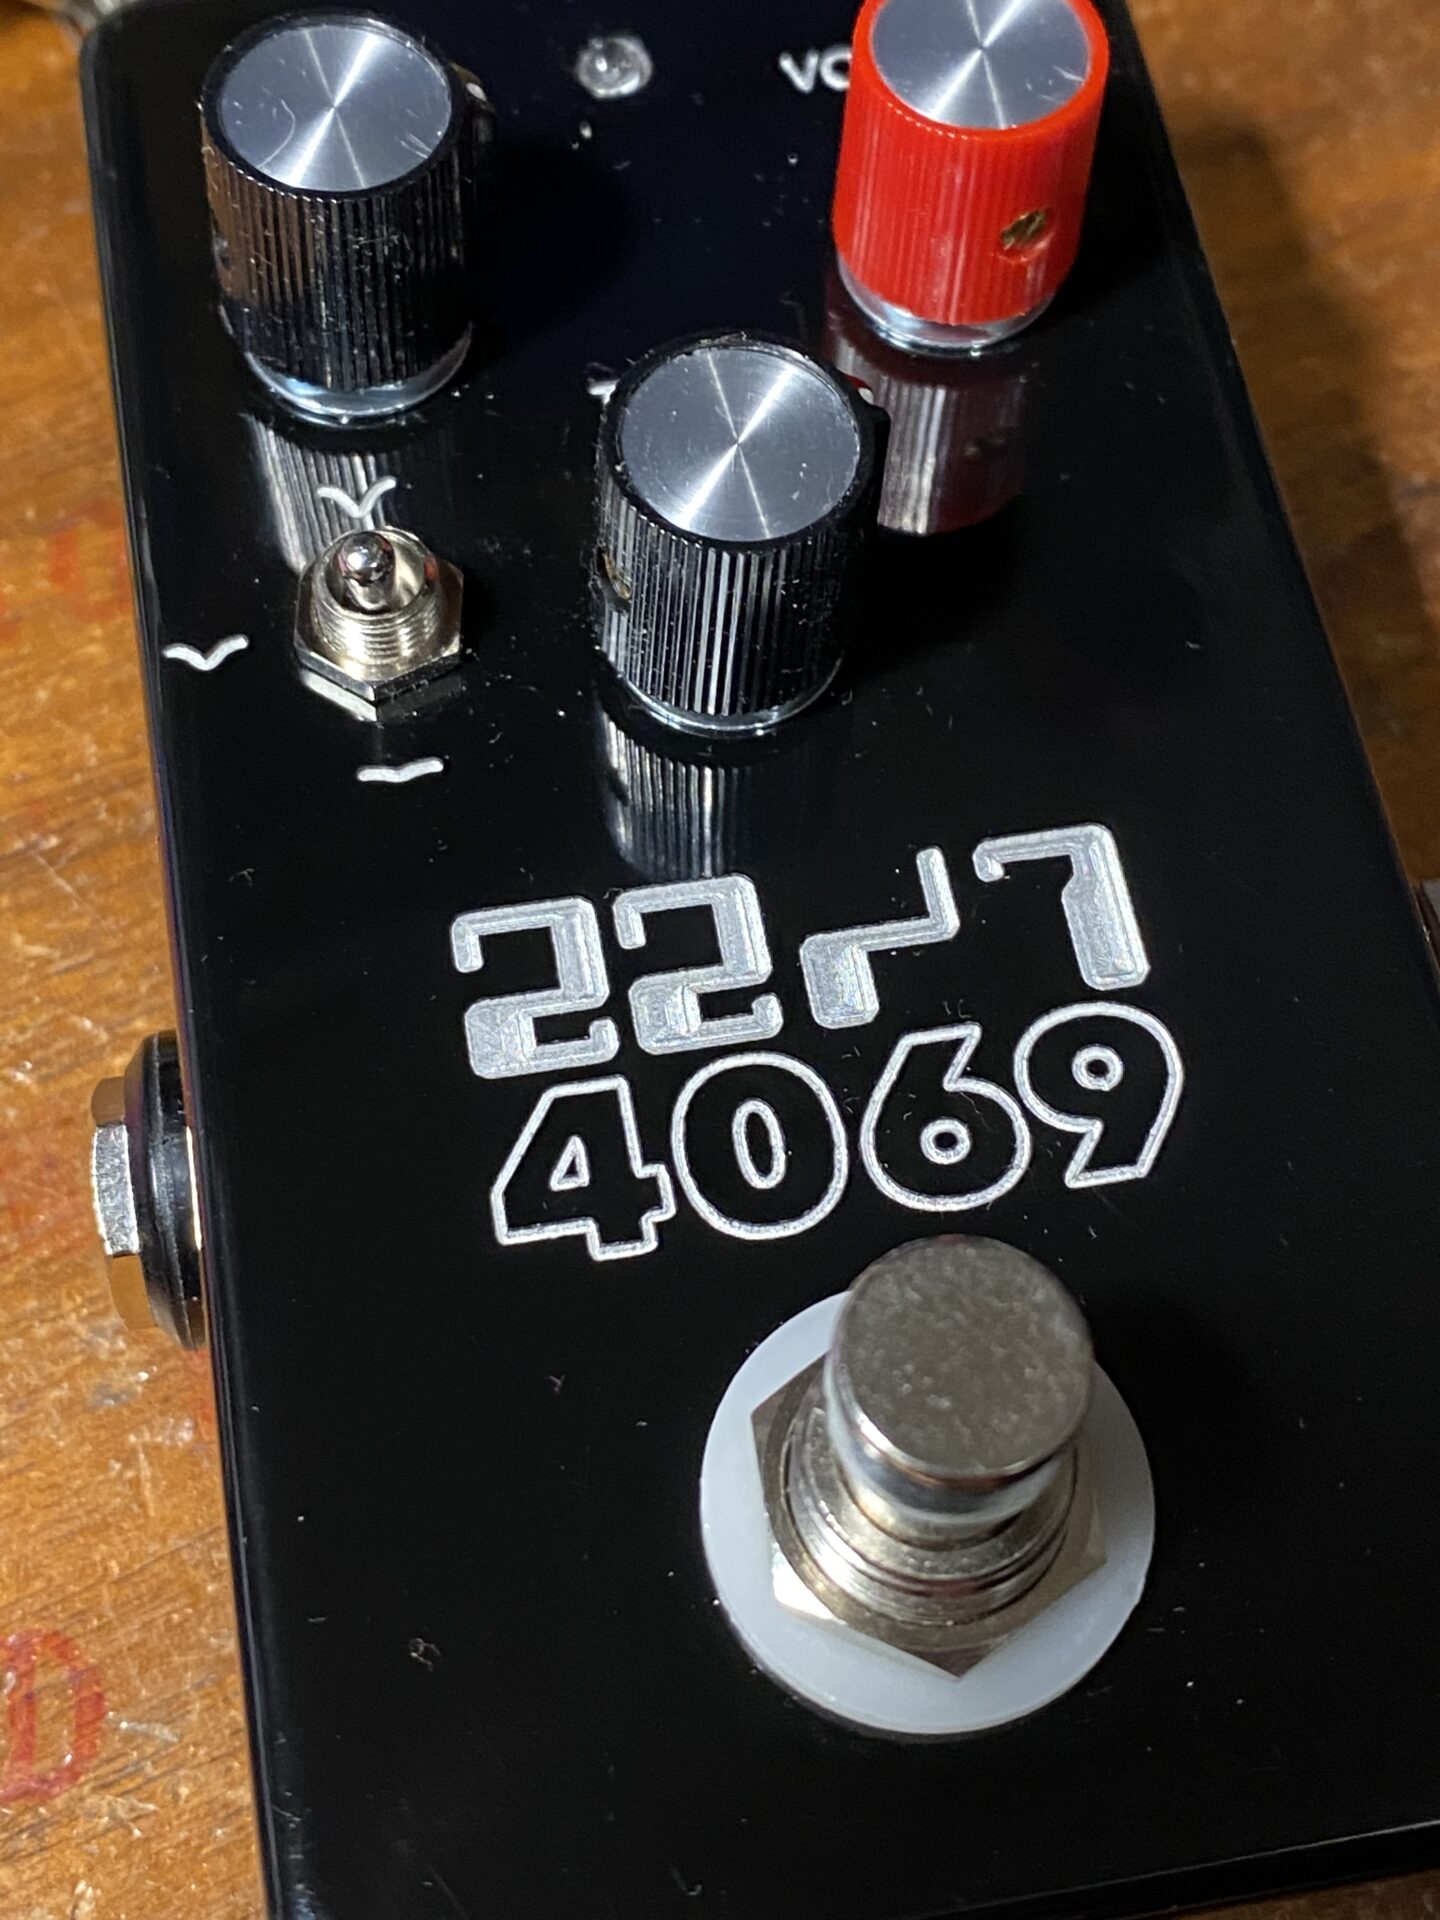
22/7 4069
First build of 2022! This is a 4069 version of RunOffGroove’s 22/7. The original uses the 4049 hex inverter. This the same circuit using the 4069. Both chips contain 6 inverters but the they differ in format and layout. The 4049 is a 16 pin DIP and the 4069 is a 14 pin DIP. One…
-
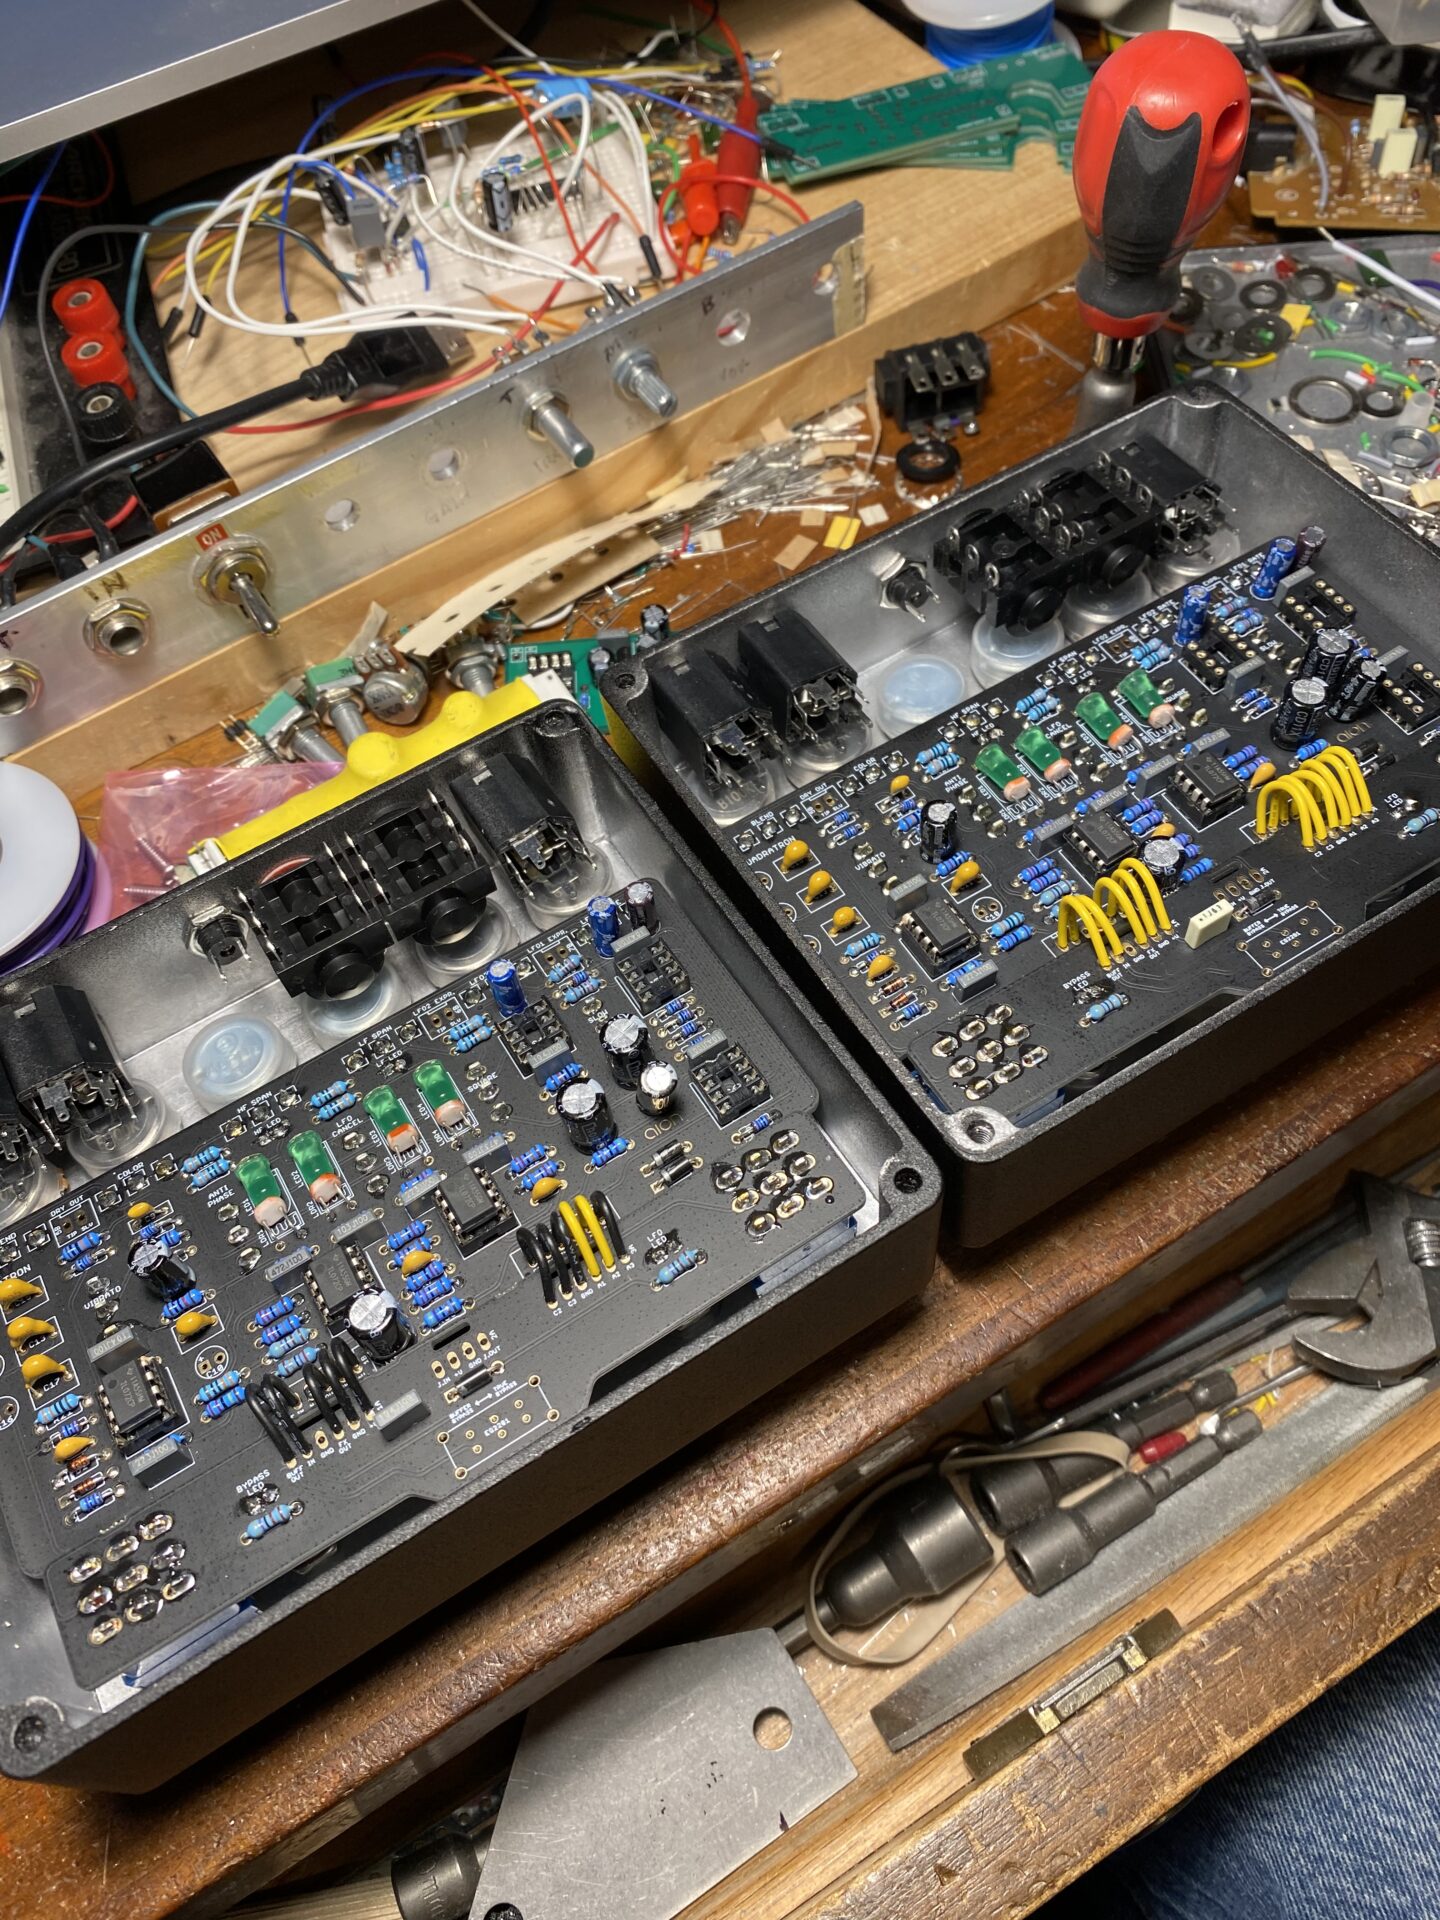
AionFX Quadratron LoveTone Doppelganger clone
I always build three of everything. I got three of these boards when AionFX released them. I built one and gave it away. I’m finally getting the other two finished. This is not straight clone of the Doppelganger it has some changes that are updates and improvements, and a few changes that are opinionated. Read…
-
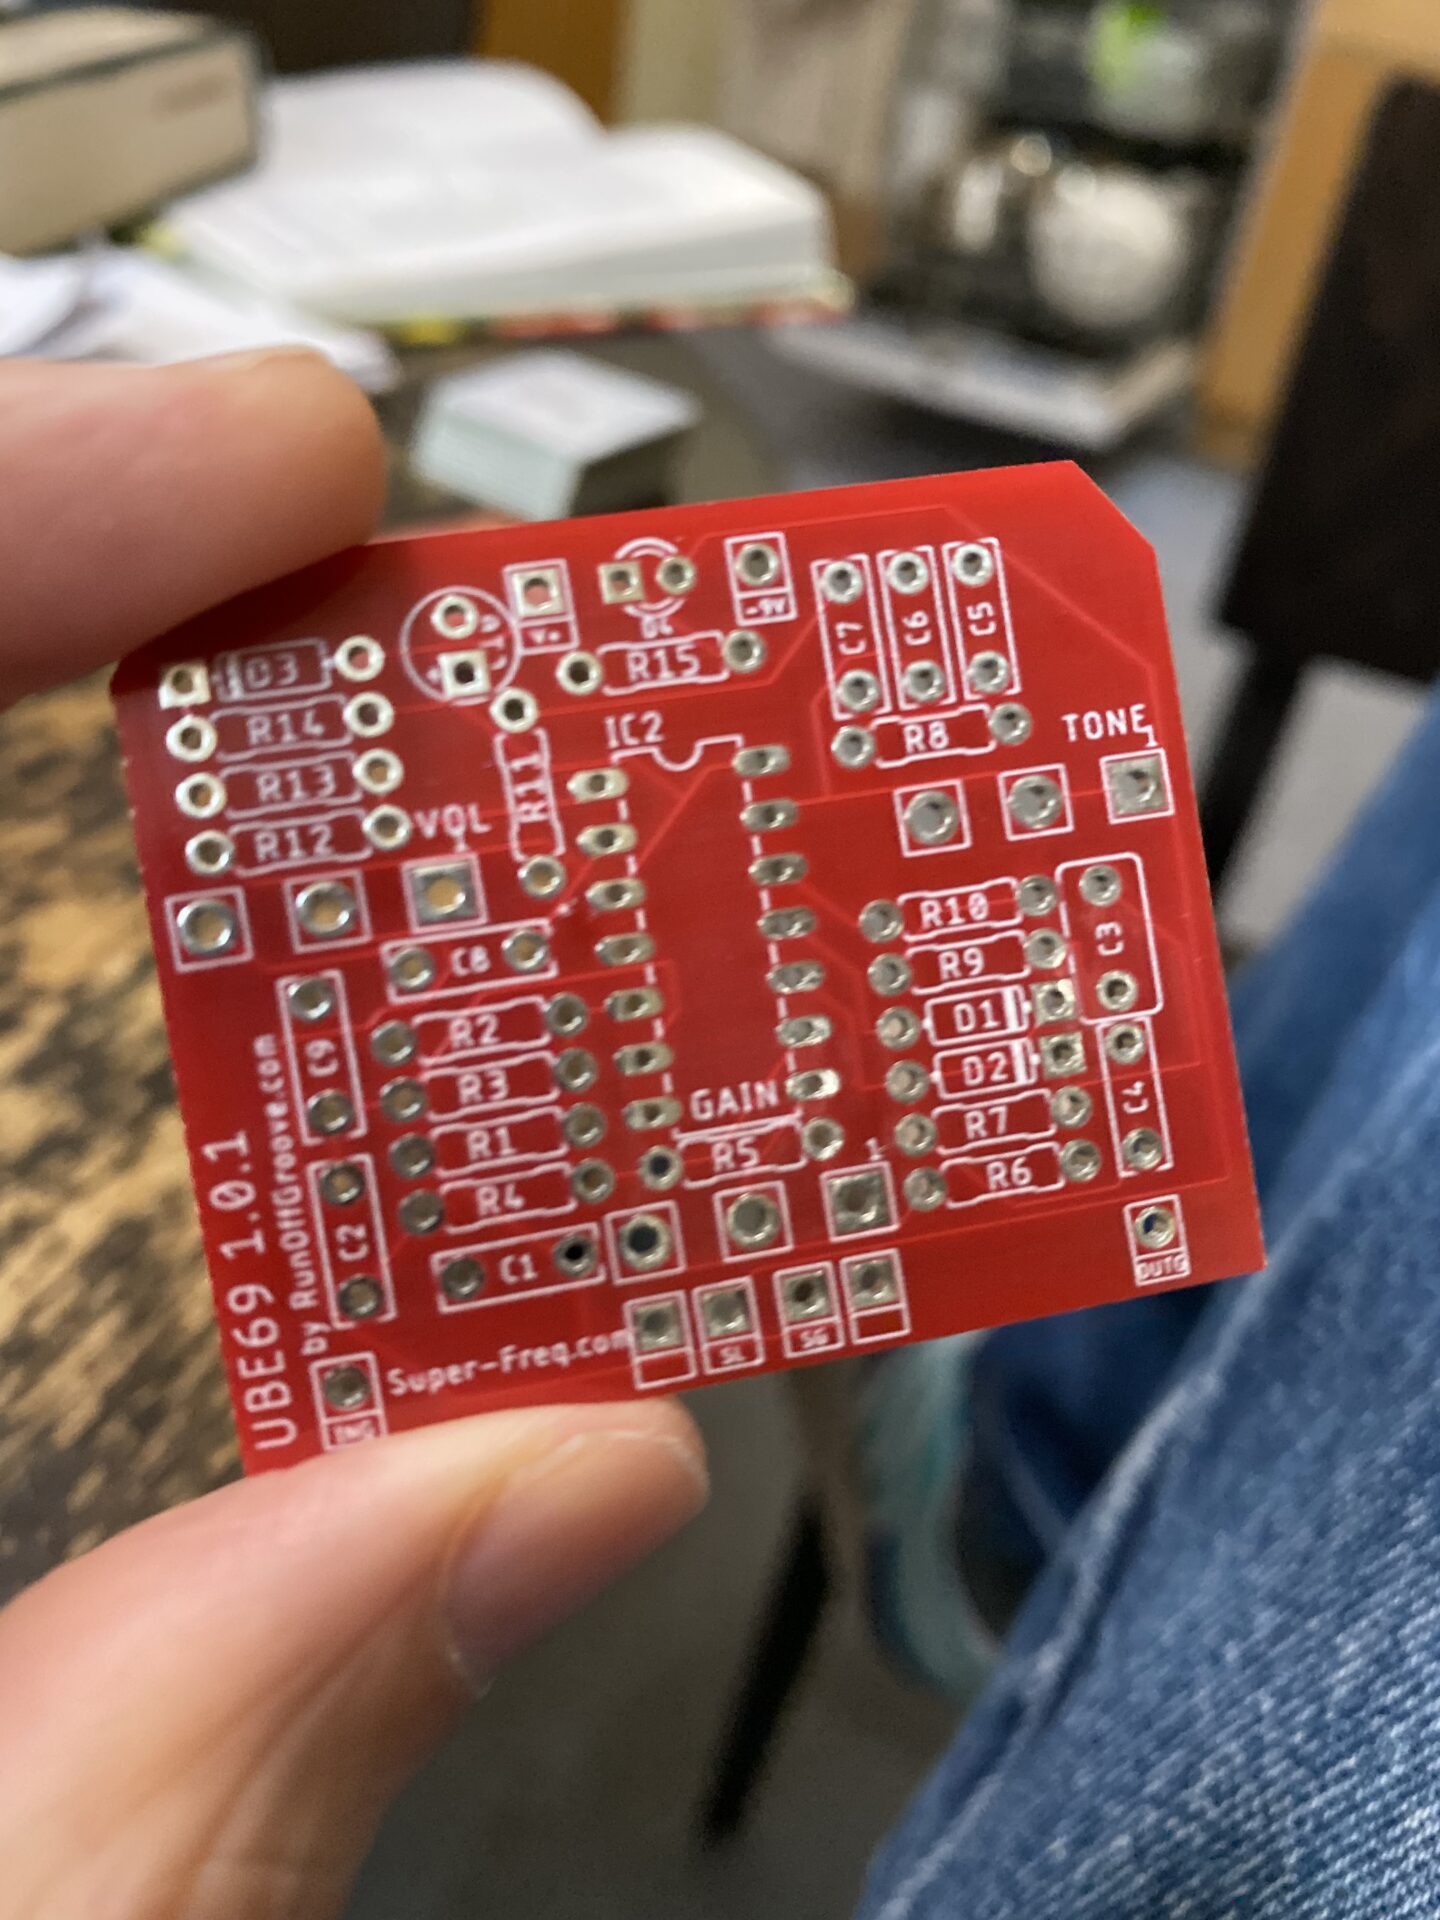
UBE Screamer 4069
This is a version of the UBE Screamer using the 4069 in place of the 4049. Essentially these chips are the same. They both contain 6 inverters. The 4049 is a 16 pin DIP while the 4069 is a 14 pin DIP. Electrically the should the same but the pin arrangement is different. The original…
-
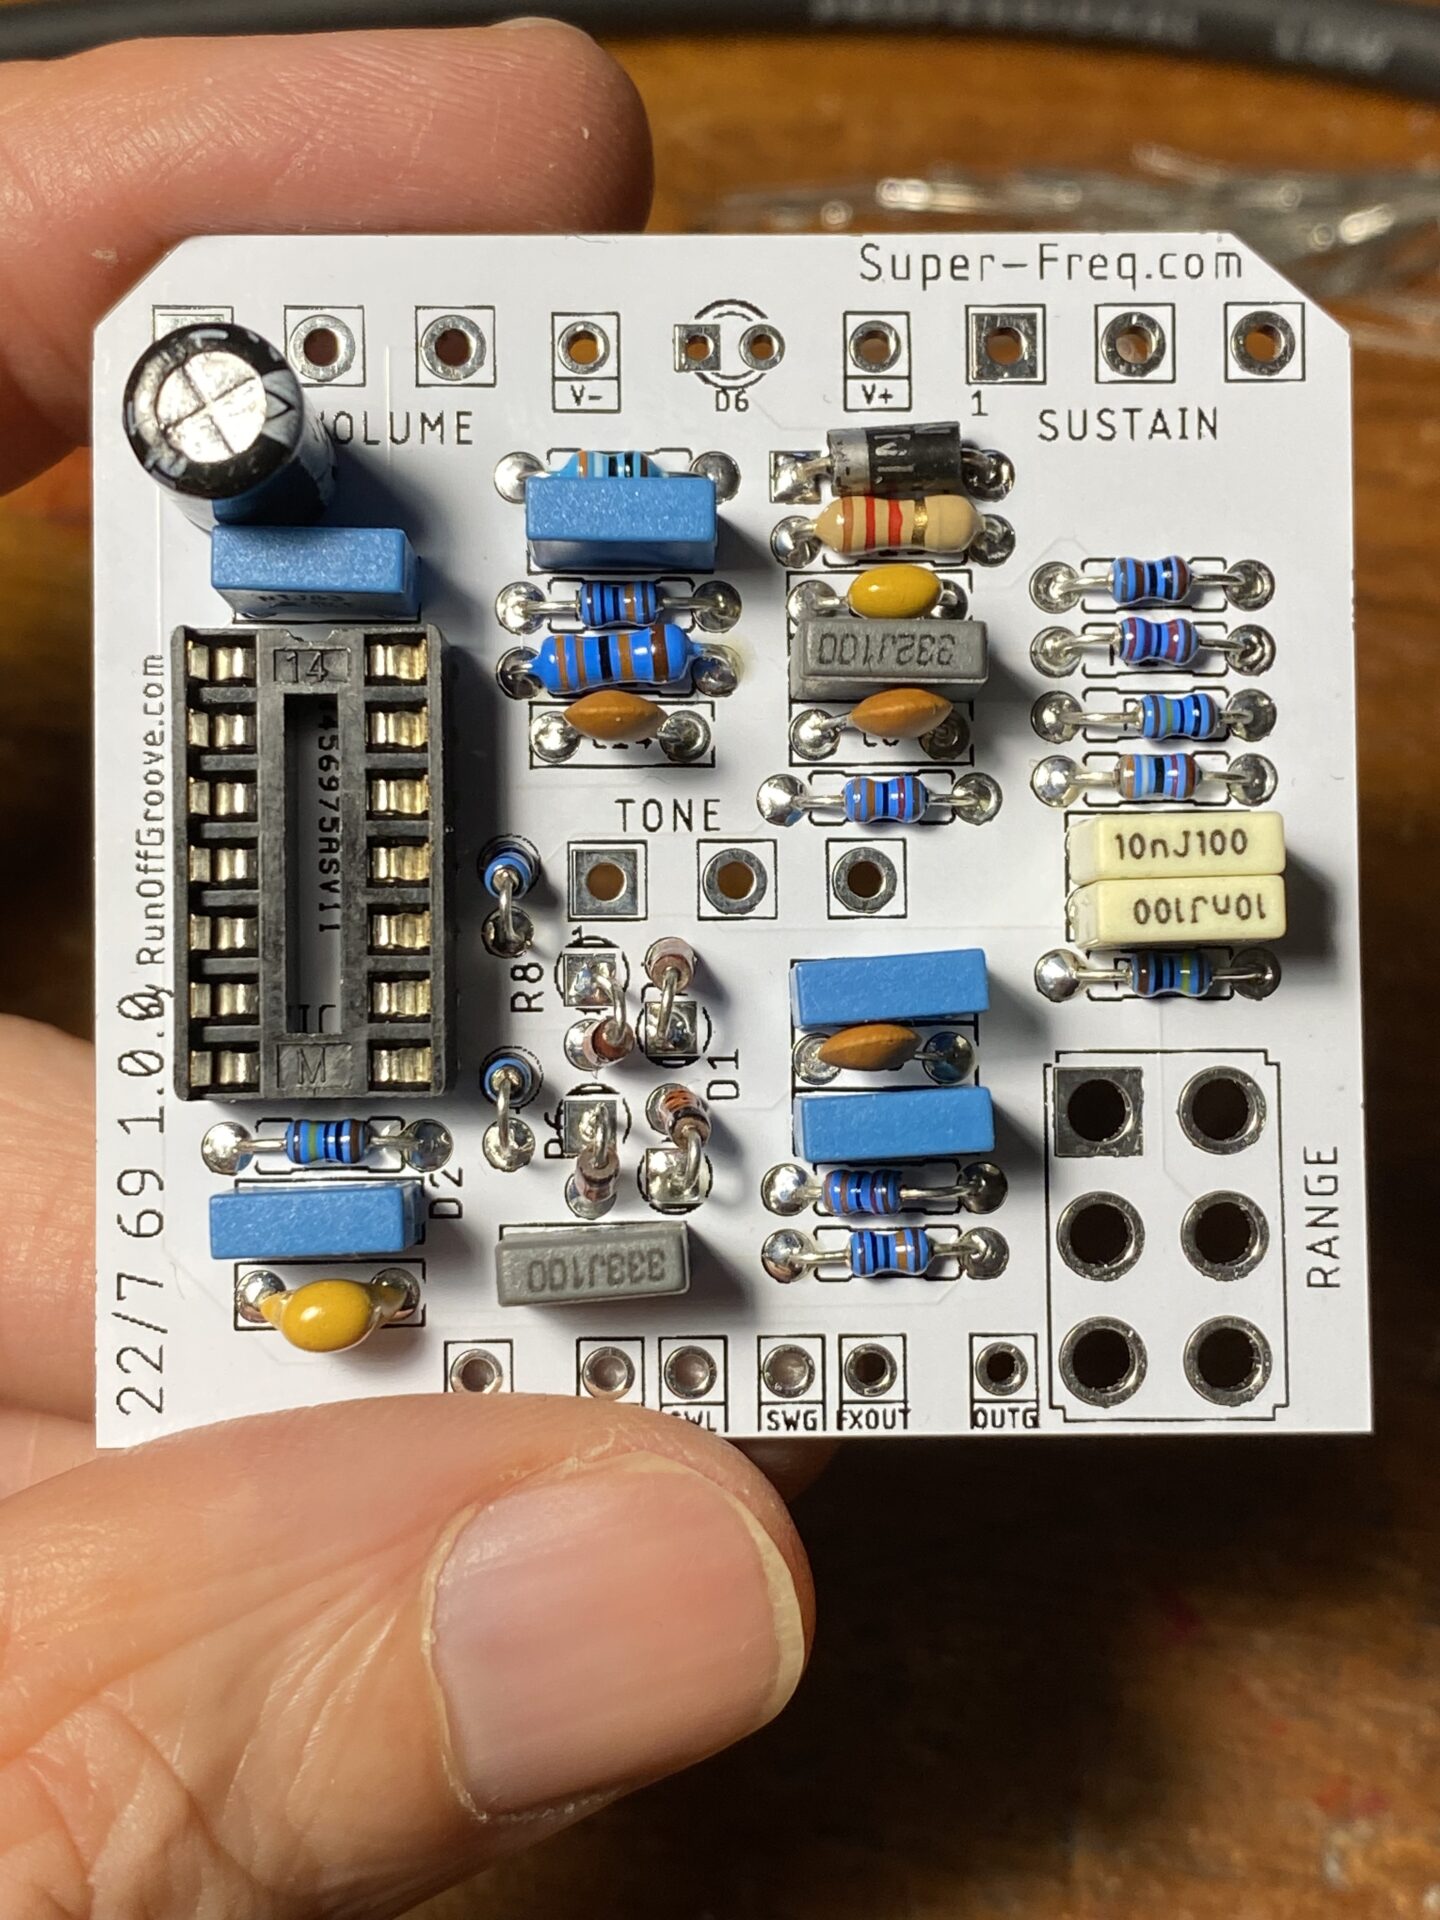
22/7 4069
Here is a version of RunOffGrooves 22/7 using the 4069. The original circuit uses the 4049 Hex inverter. The 4049 is a 16 pin dip with 6 inverters. Here is the 4049UBE data sheet. You can see it has 16 pins with 6 inverters. There is a power Vdd pin 1 and ground Vss pin…
-
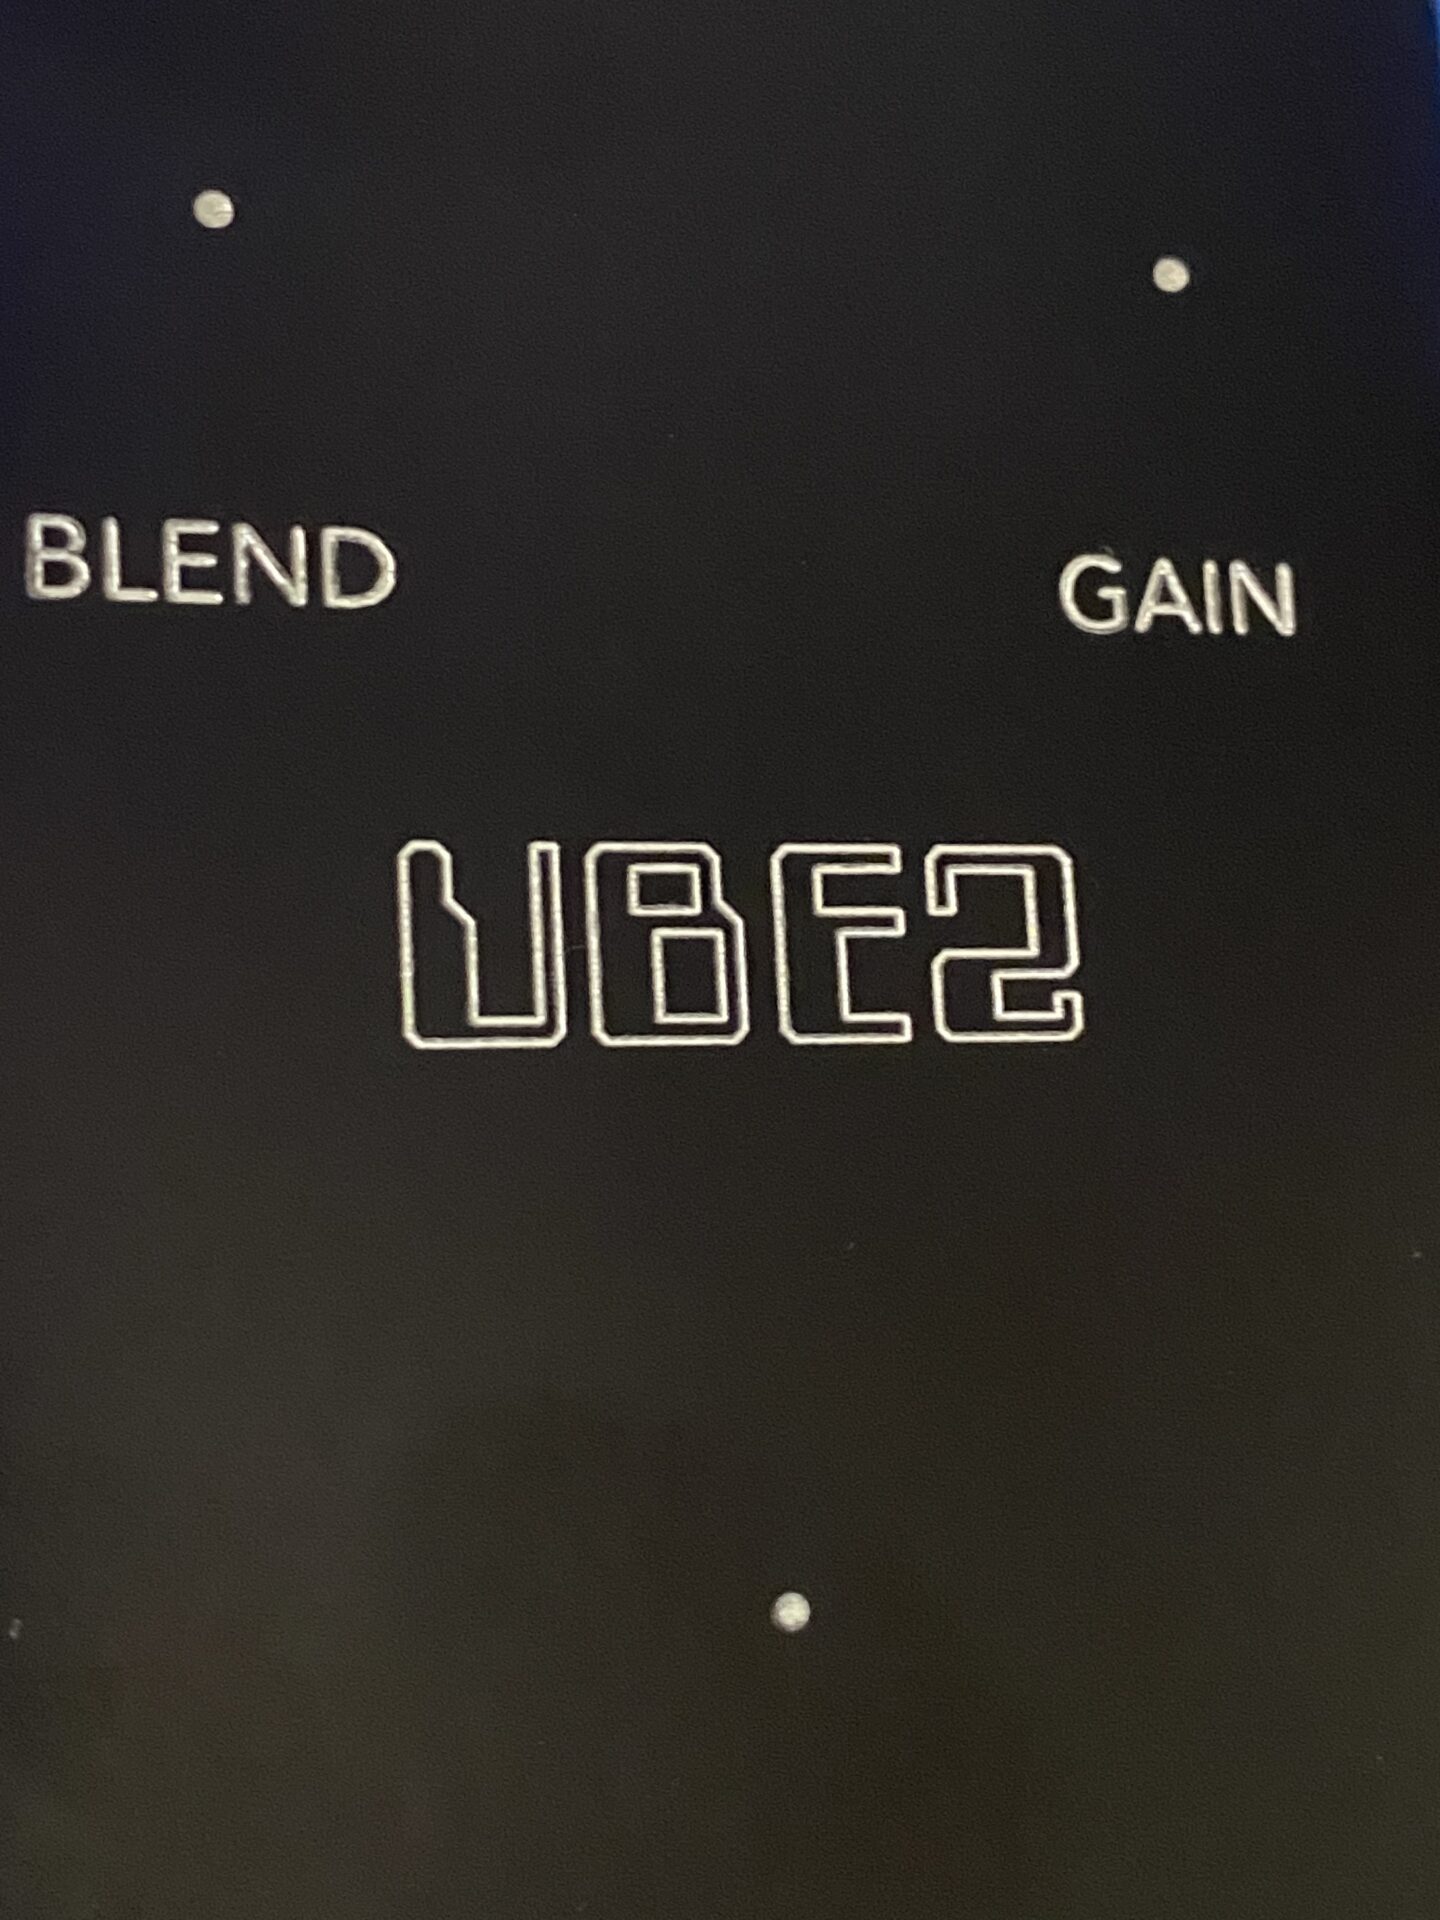
Another fail!
Here is a UBE Screamer with blend knob. I left a resistor out of the mixer and mixed up the Blend and Gain labels, double fail! As long as I’m going to screw things up I like to go all the way! This enclosure looks good! I like the logo outline and the pot labels…
-
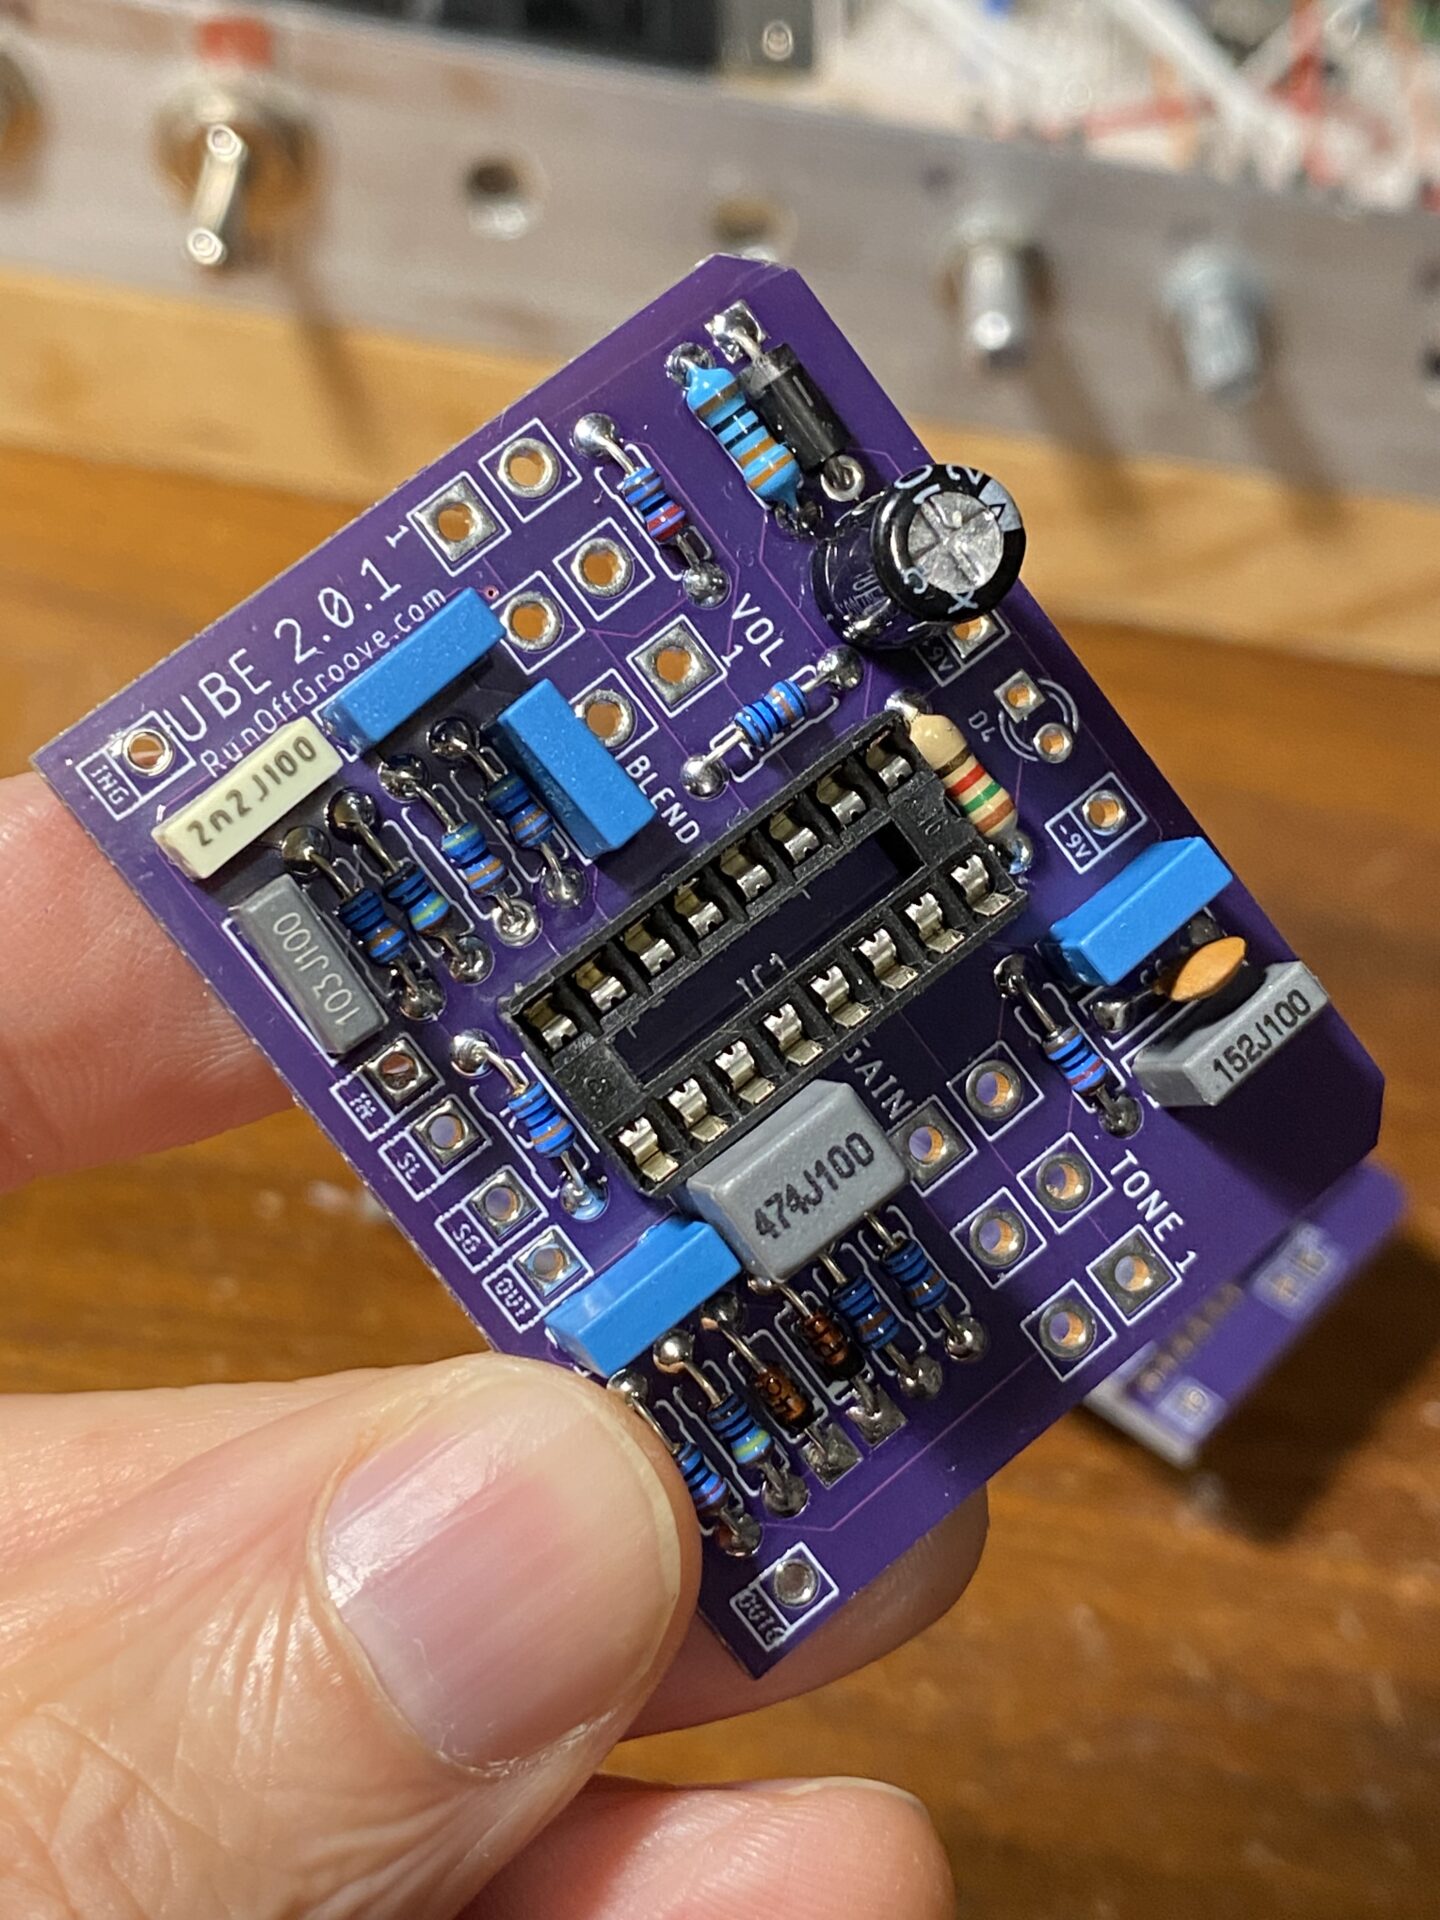
UBE Screamer v2
I made an update to the RunOffGroove UBE Screamer from a suggestion in their notes. This version adds a mix control the blends some of the original signal with the distorted signal. The original uses Rx to set a fixed mix amount. The notes suggest a value of 100K to 470K for this resistor with…
-
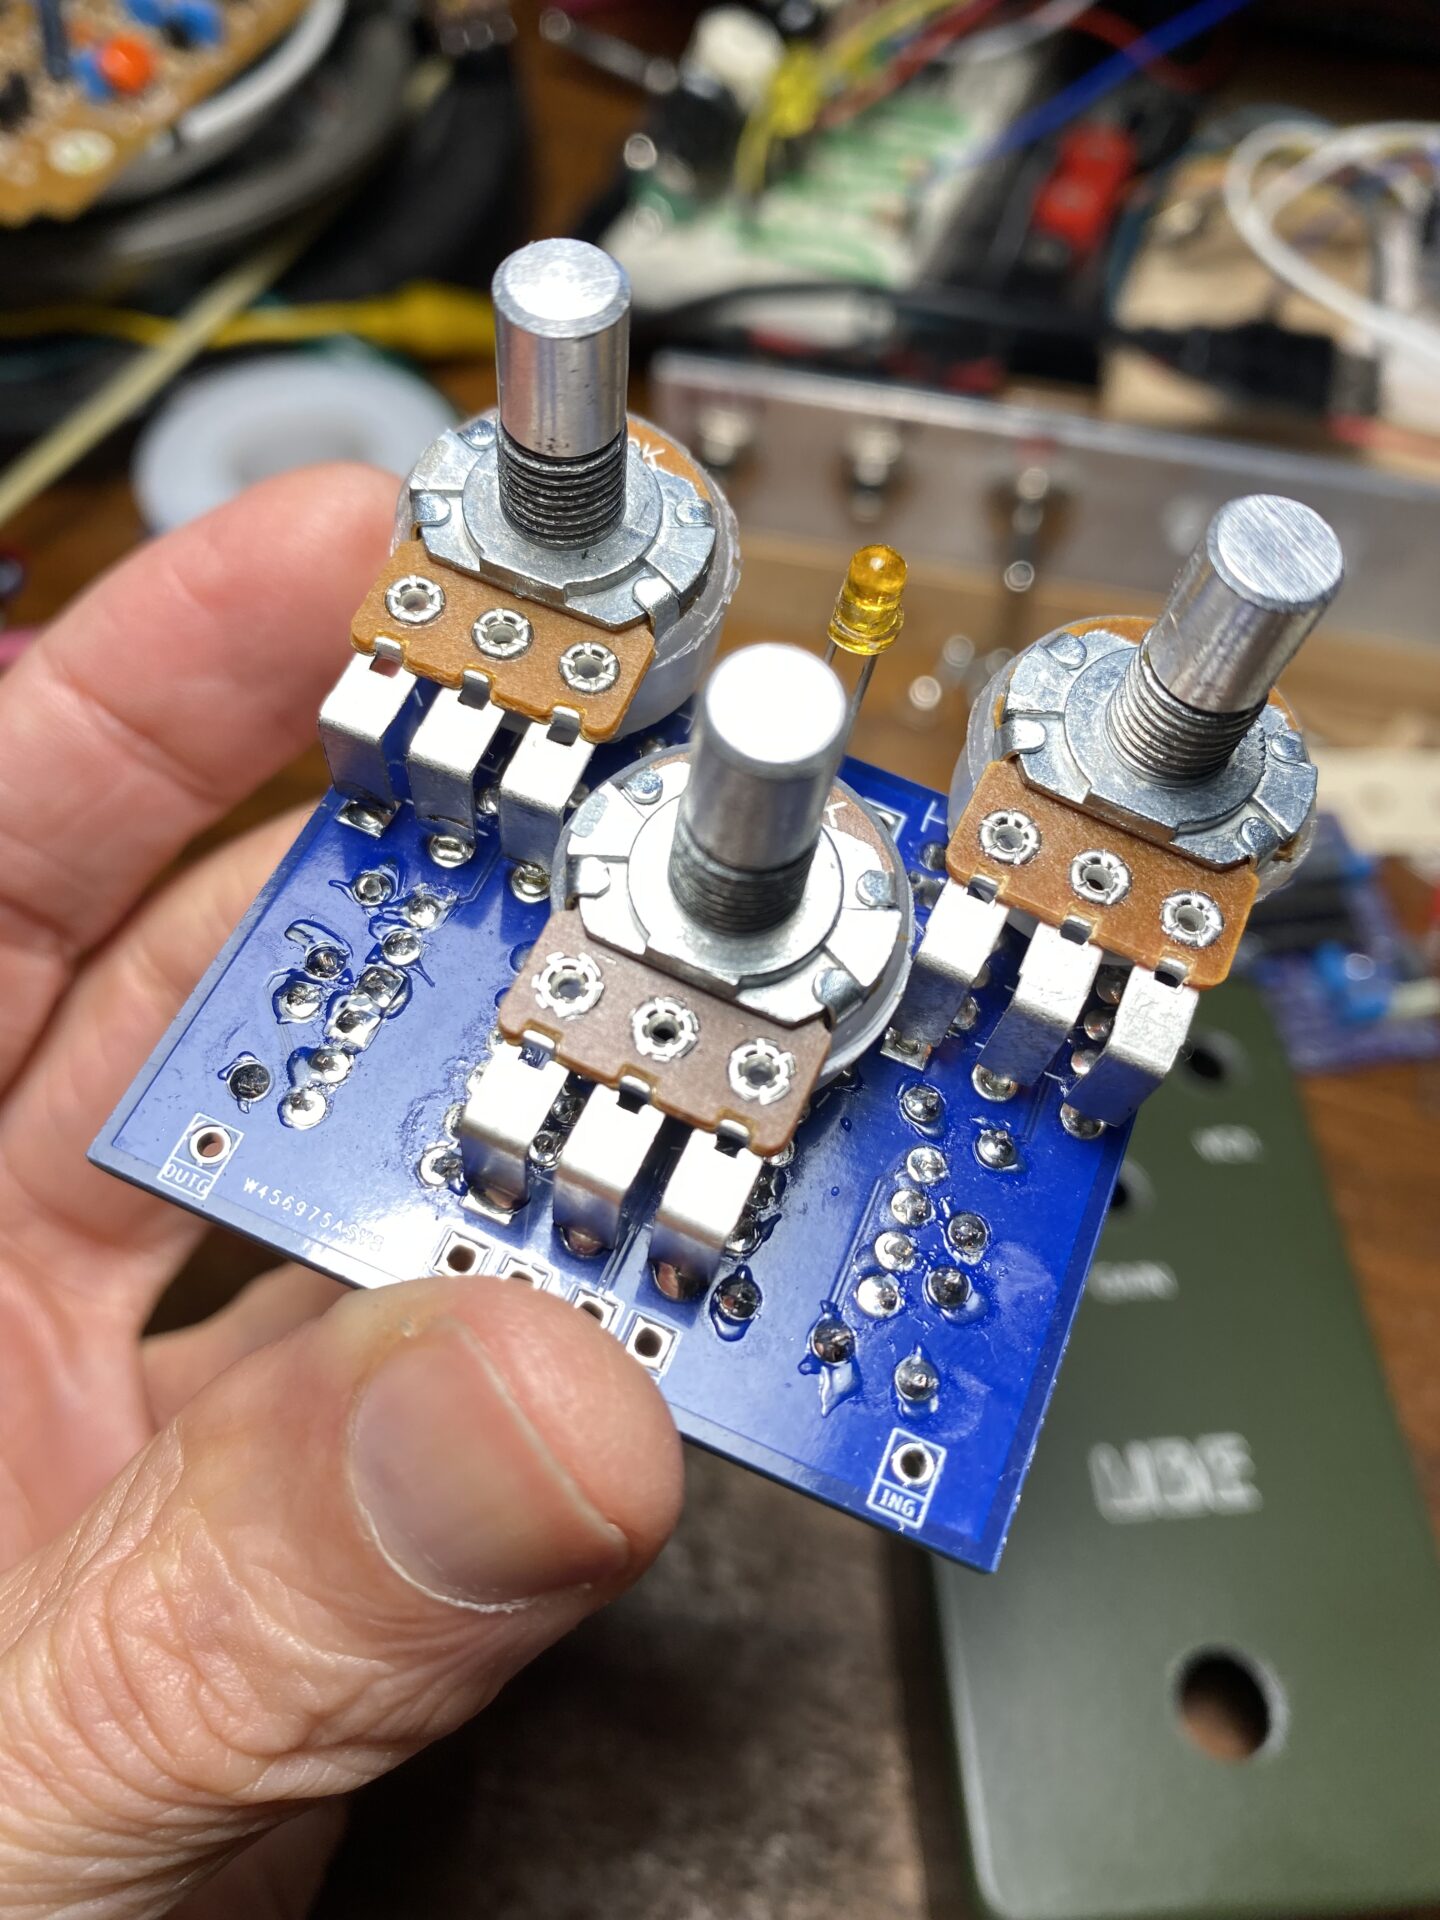
UBE Screamer 1.1.1 build
Built and tested the new version of the UBE Screamer PCB. Everything is working! Sounds great. This is a good alternative to the standard TS-808 and other overdrives if you’re looking for something a little different. Does great low gain sounds. I built this in a 1590B enclosure from Tayda. I got most of the…
-
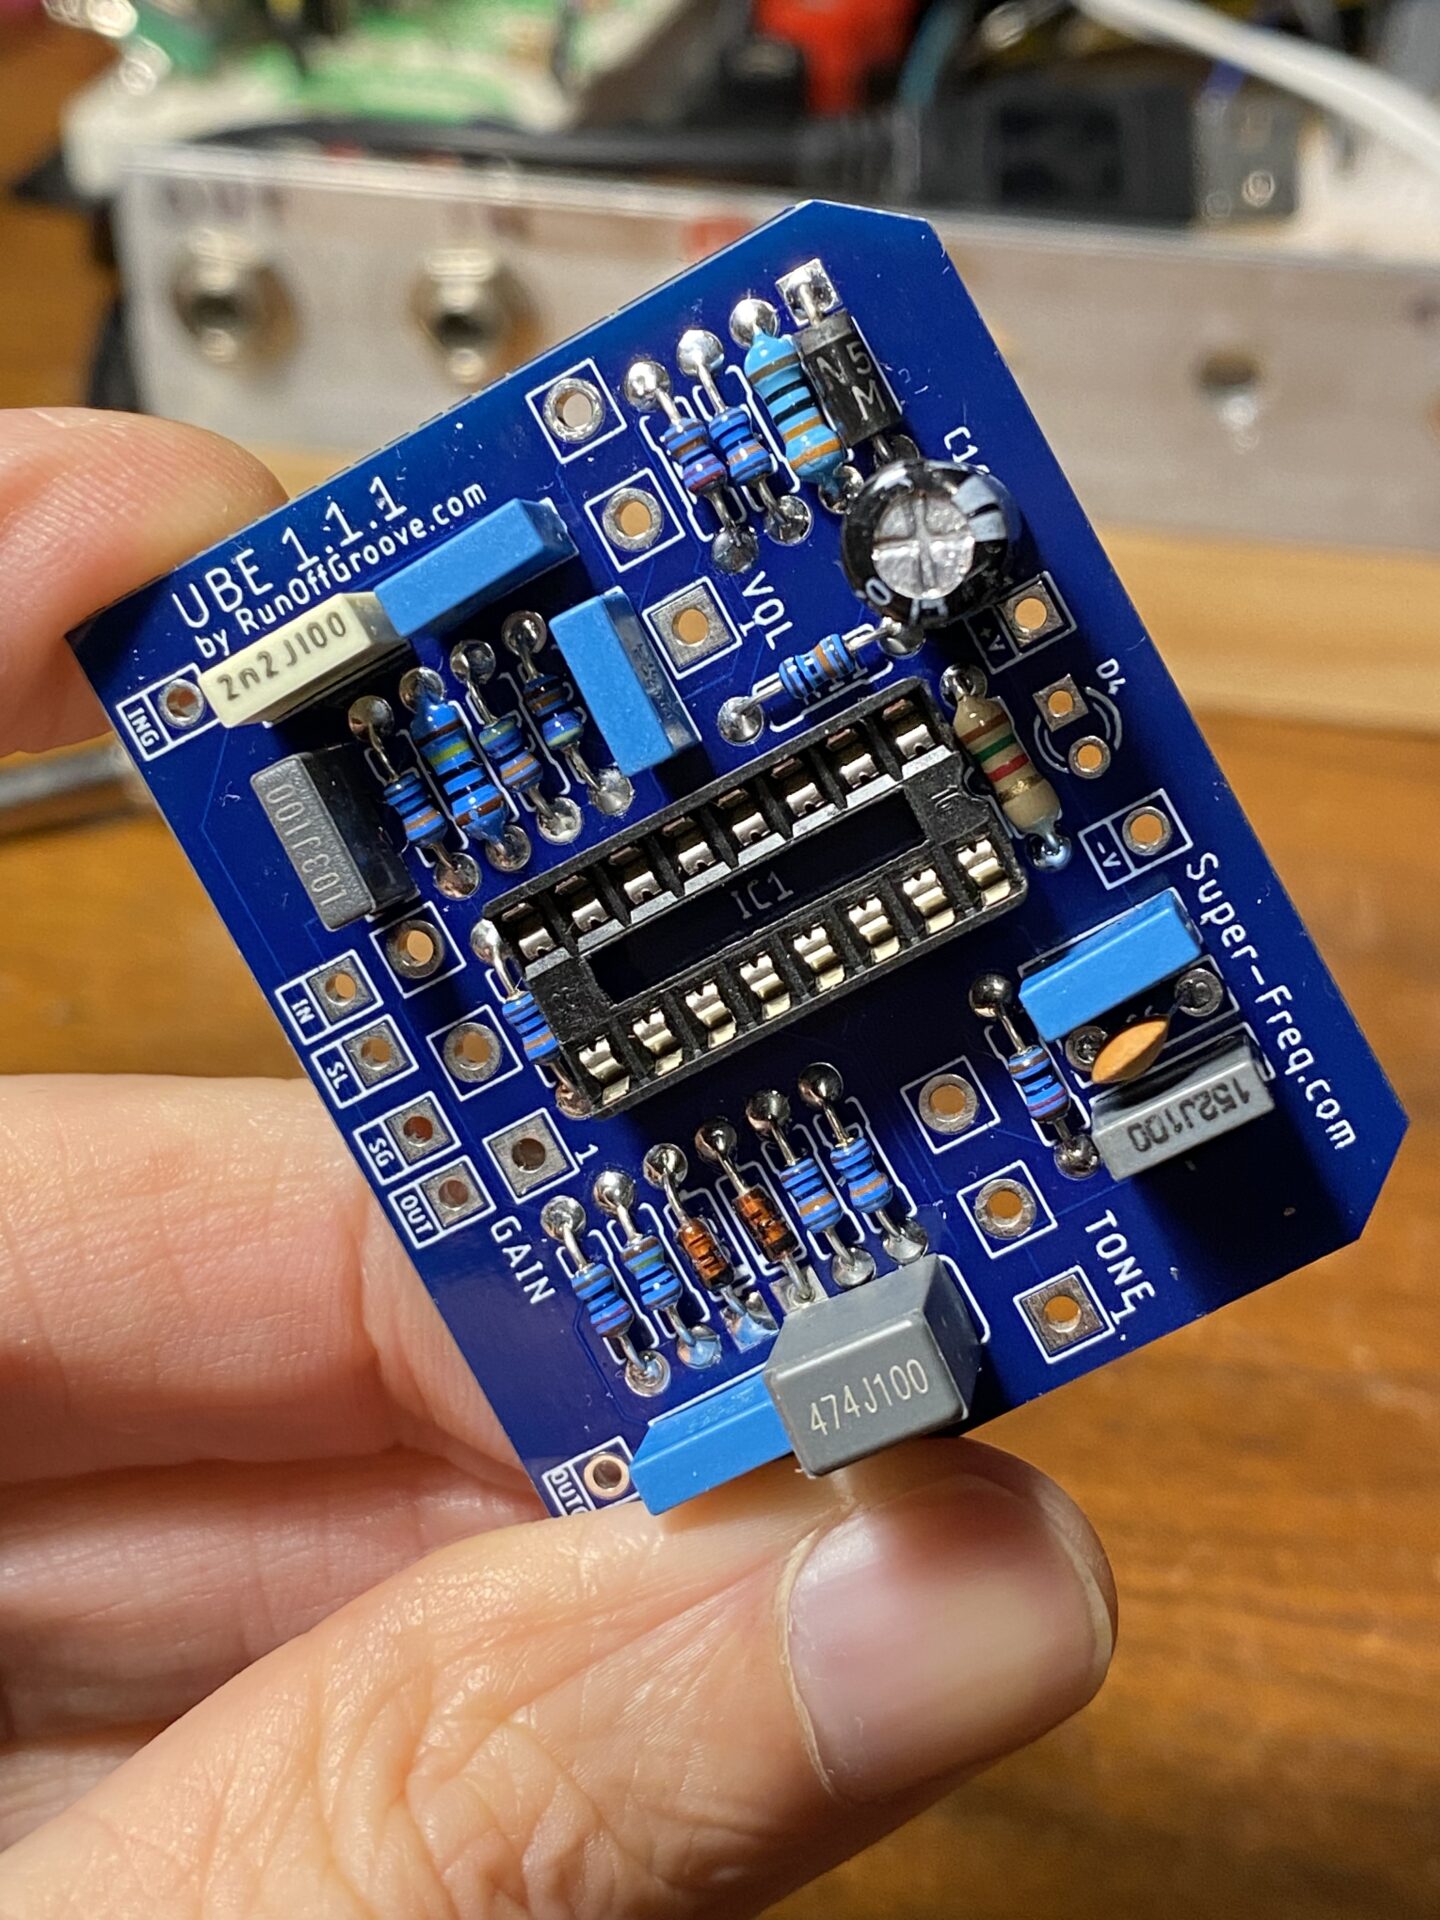
UBE Screamer 1.1.1
This is an update of the UBE Screamer board. Same circuit just revised. I had these boards fabricated at PCBWay.com. The quality is very great! The UBE Screamer is a very interesting take on the Ibanez Tube Screamer by RunOffGroove.com. It’s the general circuit topology of the TS-808 but uses CMOS inverters in place of…
-
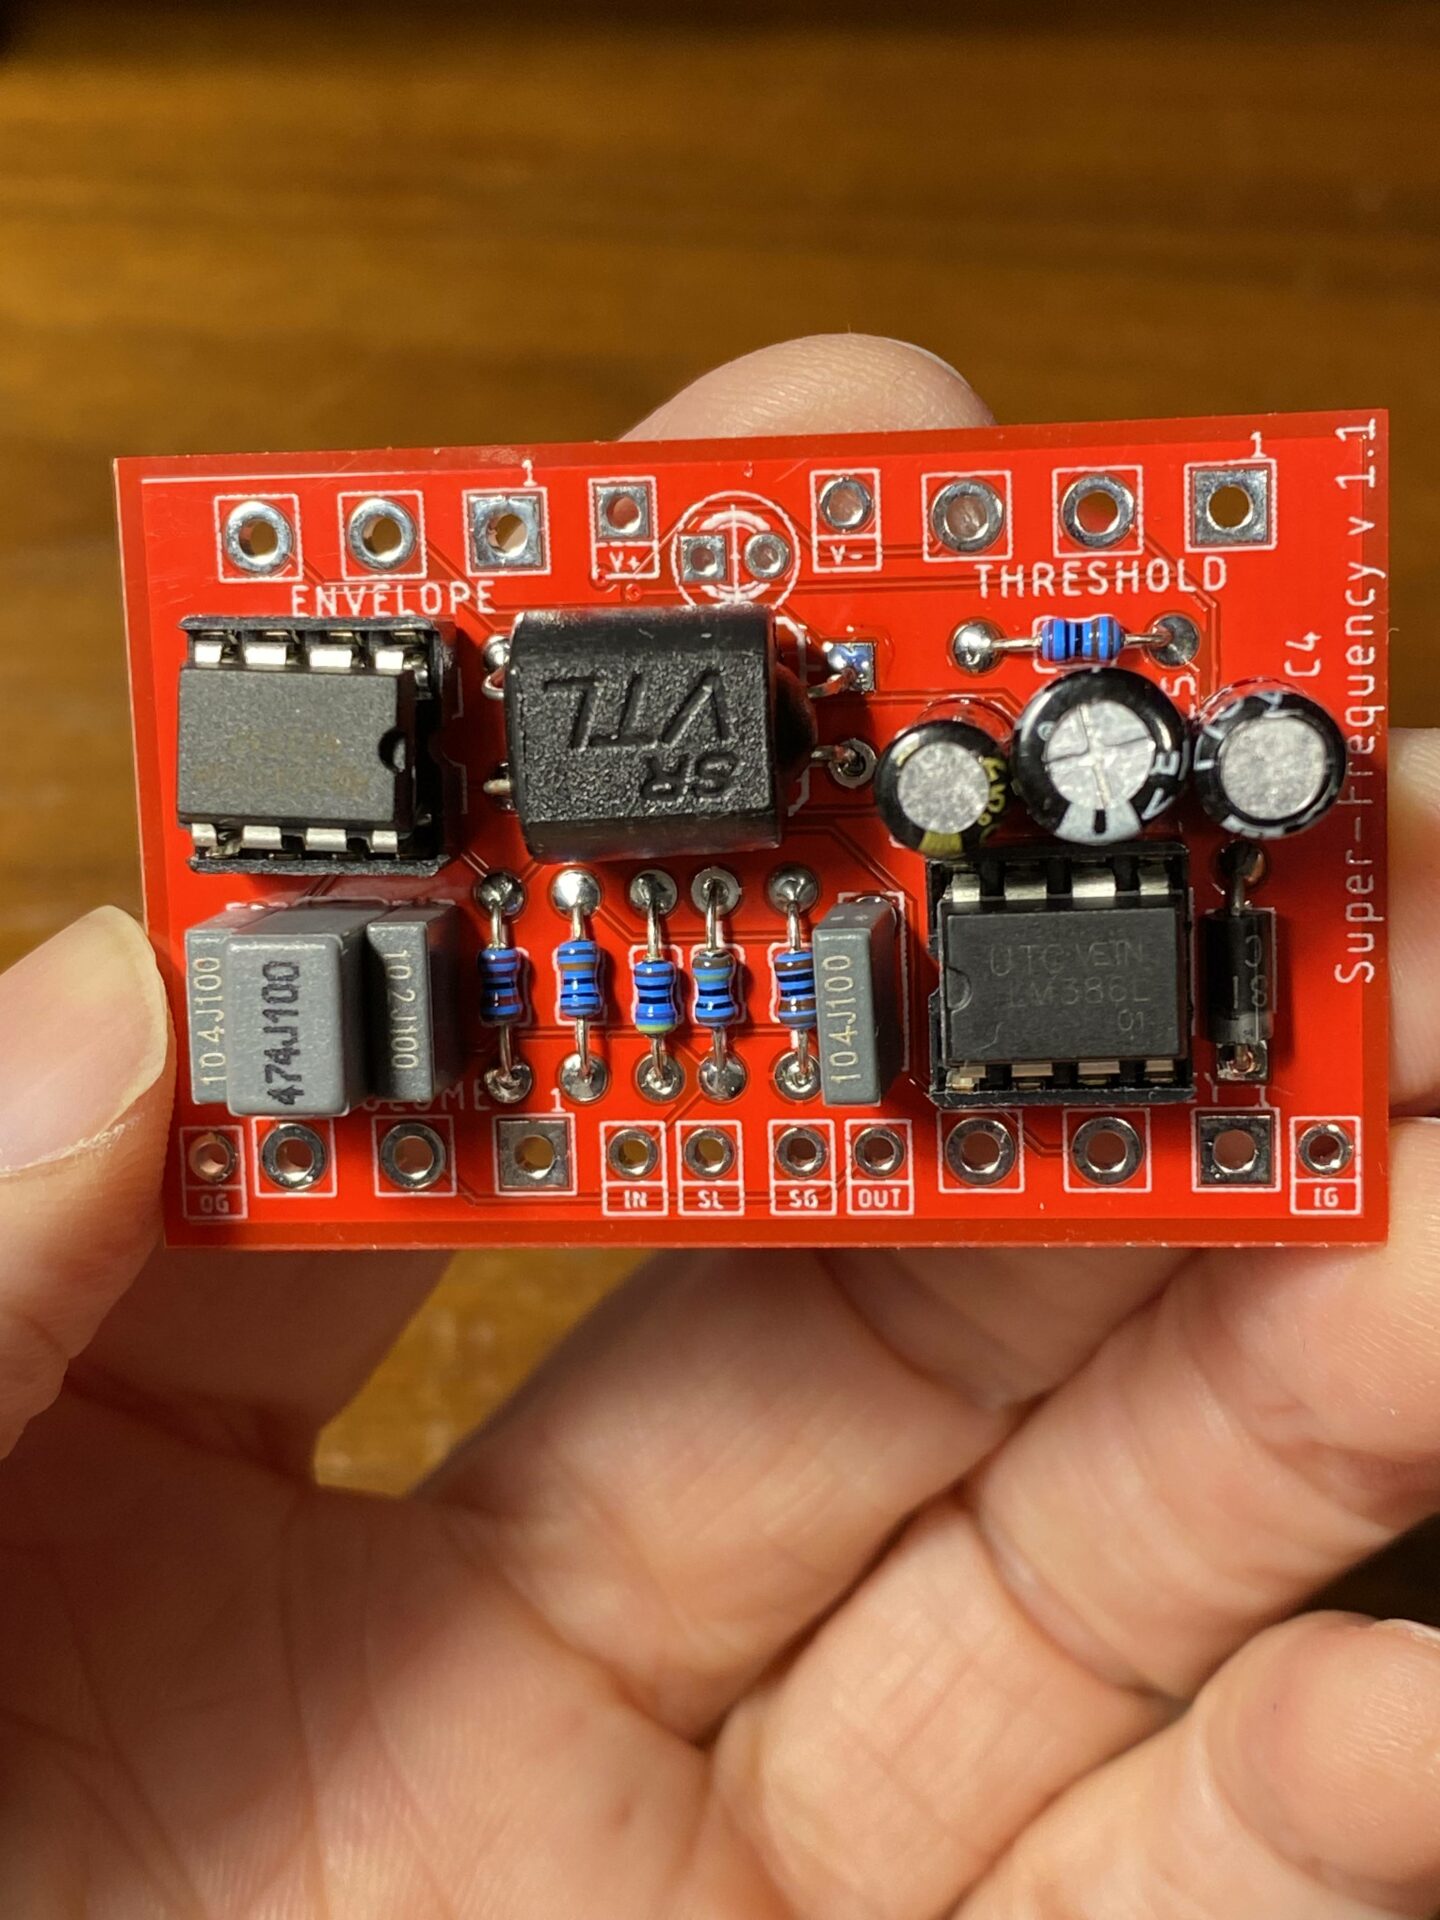
Shameless Plug…
I entered my PCB design in the PCBWay design contest vote for me! https://www.pcbway.com/project/shareproject/Super_Frequency_Harmonic_Square_wave_distortion_1.html This is a PCB for Tim Escobedo’s Ugly Face. Anyone that hasn’t built one of these you should try it. You won’t play it on every song but you when you do people will notice! Here’s a picture of the board…
-

Ugly Face PCB on PCBWay
I designed this PCB for Tim Escobedo’s Ugly Face and had it manufactured at PCBWay. I used Eagle PCB to design the board. The process was not hard with a little research. I started by finding the PCBWay Eagle DRU file. This tells design rules that PCBWay will accept. This includes the minimum trace size…